LumiUtility/How to Modify Device IP Settings in LumiUtility: Difference between revisions
Techsupport (talk | contribs) Created page with "<div class="lm-banner">File:LuminysMainPageBanner2.png</div> = <div class="center">How to Modify Device IP Settings in LumiUtility</div> = ===Description=== This tutorial will go over how to modify device IP settings in LumiUtility. ===Prerequisites=== * LumiUtility application installed on the computer. ===Video Instructions=== <youtube>https://www.youtube.com/watch?v=p12GvLOisJg&ab_channel=LuminysSystemsCorporation</youtube> ===Step by Step Instructions=== 1...." |
(No difference)
|
Latest revision as of 10:53, 6 January 2025

How to Modify Device IP Settings in LumiUtility
Description
This tutorial will go over how to modify device IP settings in LumiUtility.
Prerequisites
- LumiUtility application installed on the computer.
Video Instructions
Step by Step Instructions
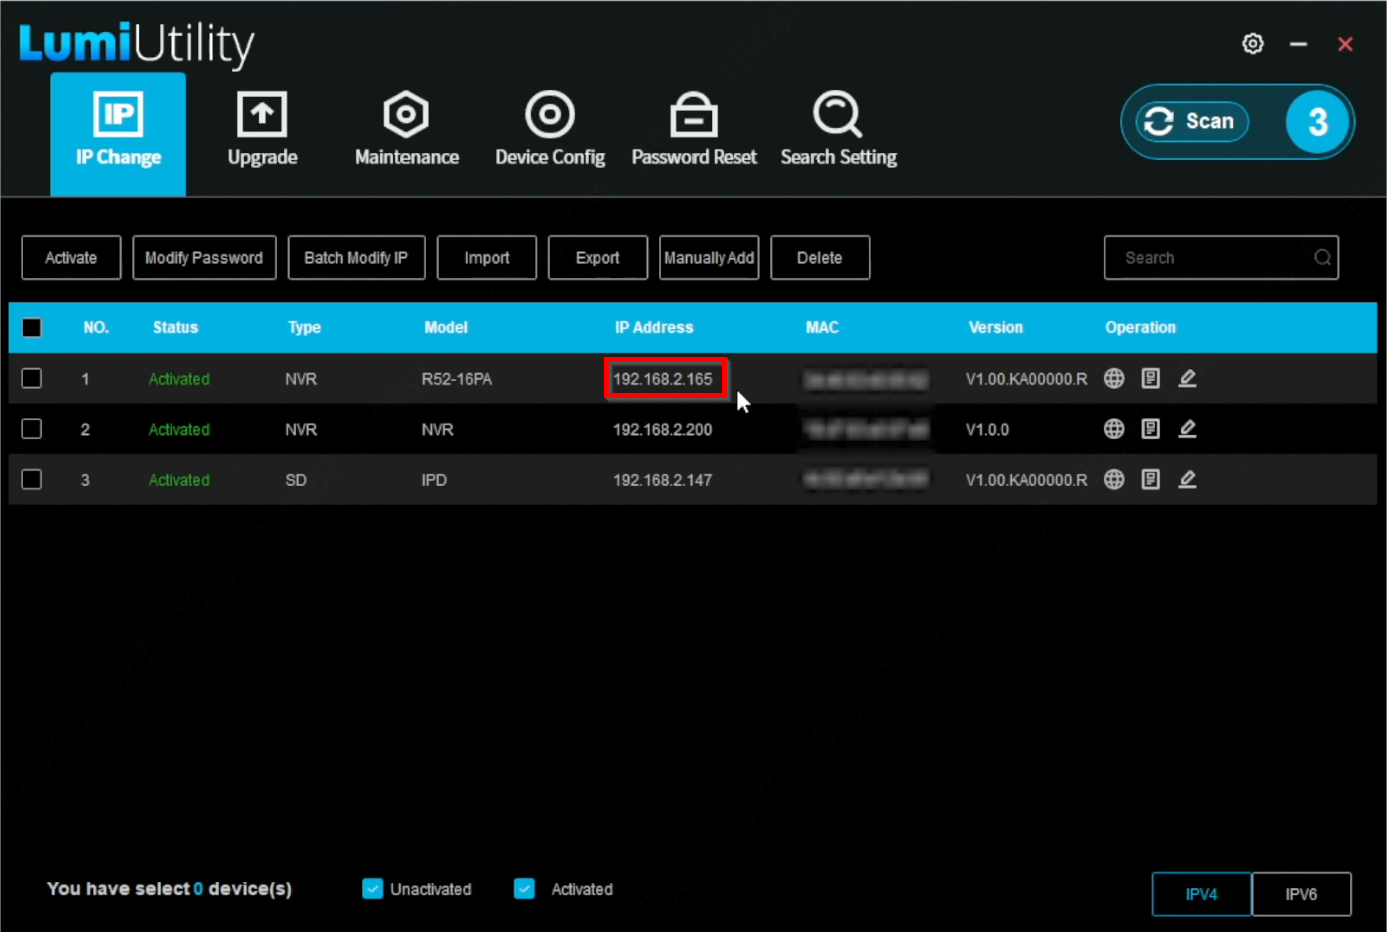
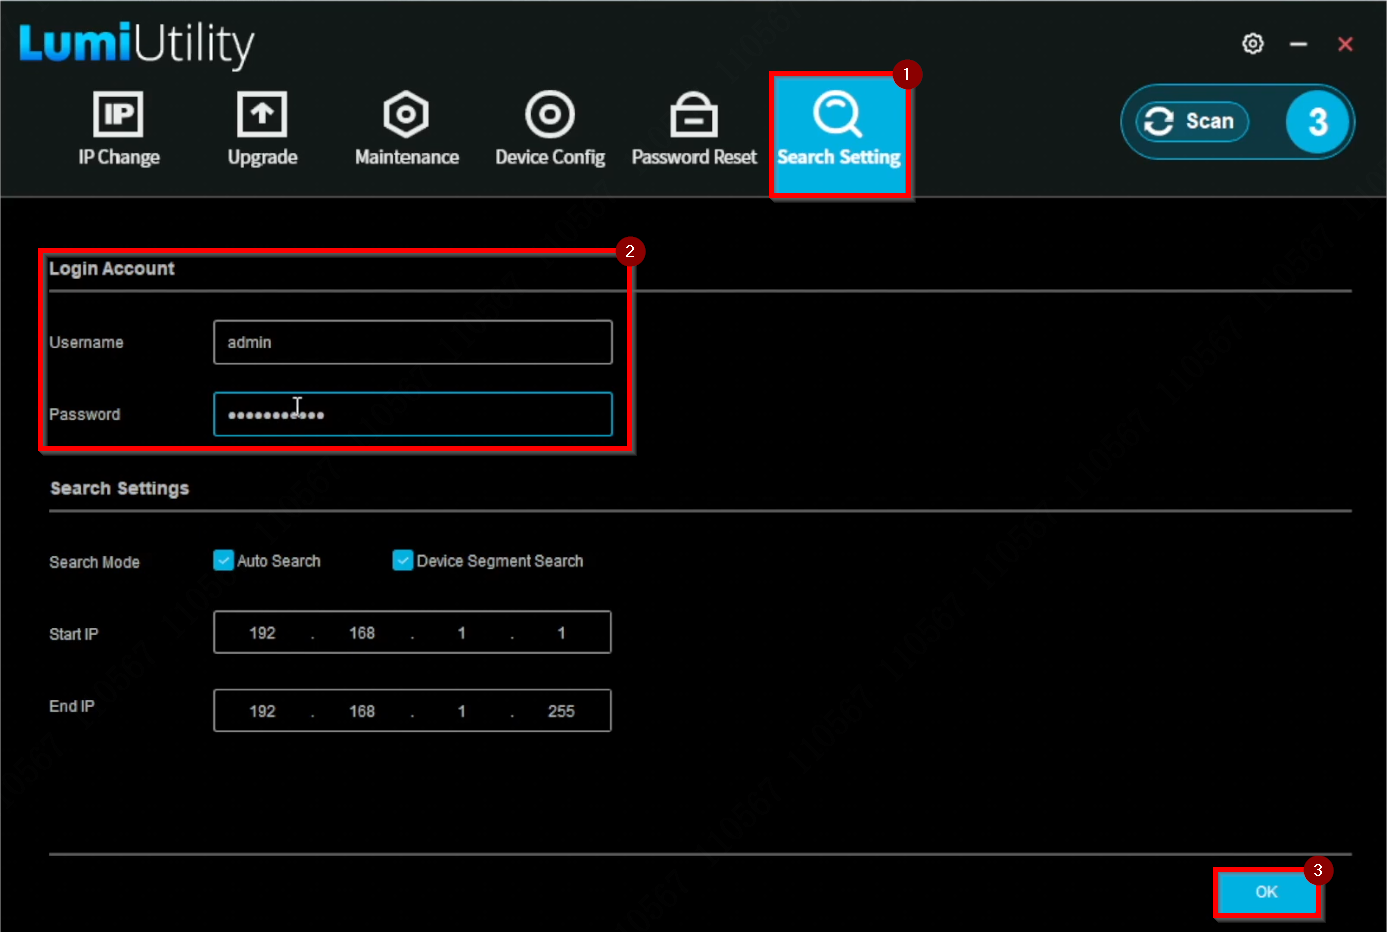
1. Select "Search Setting" and update the admin account password to align with the device's current password. Click "OK" to save the changes.
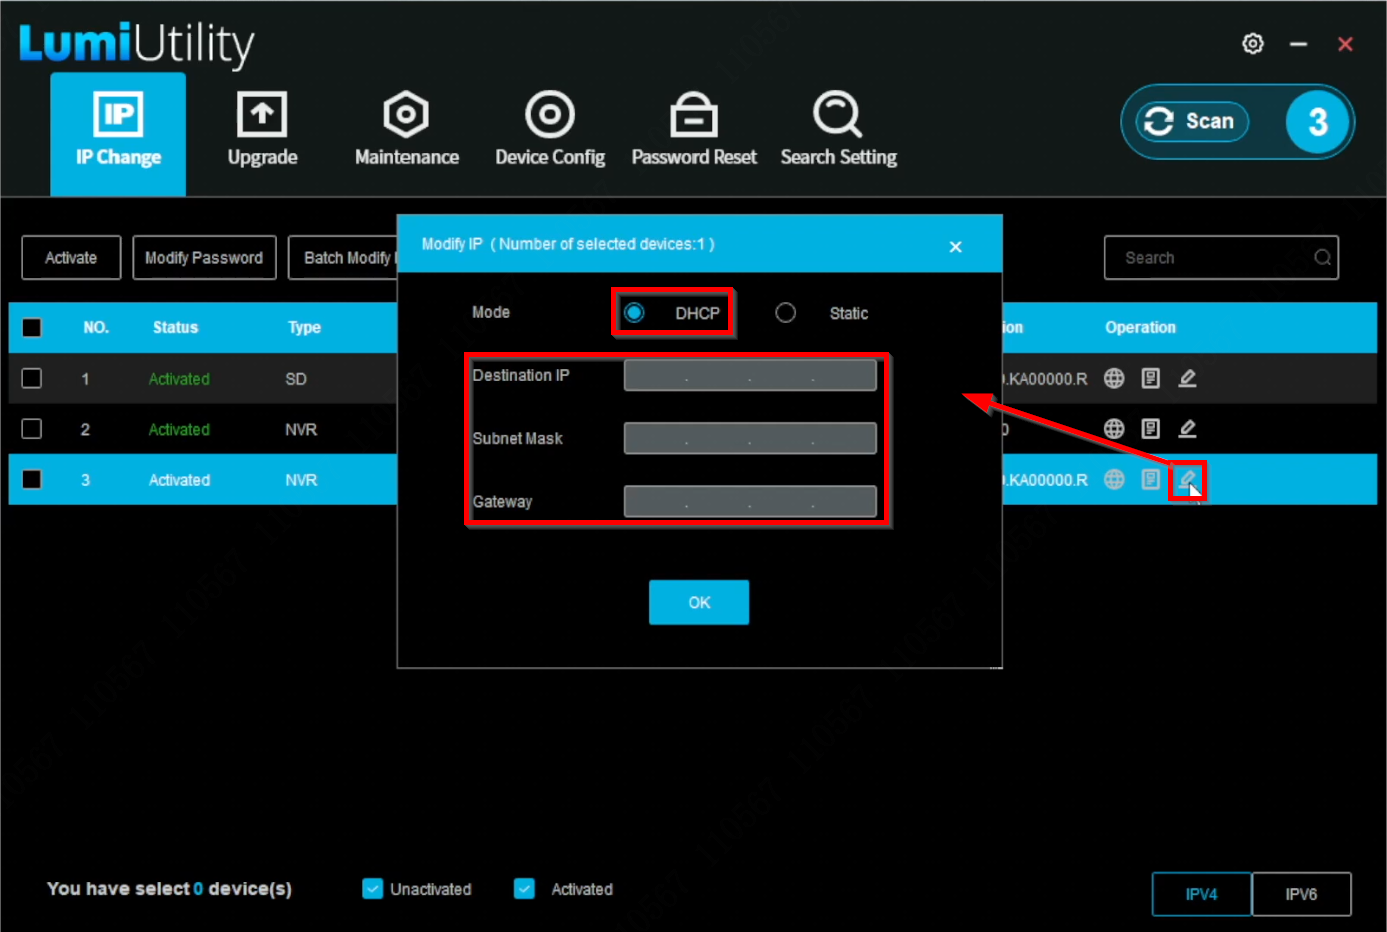
2. In the following example, only a single device will be modified. Click the pencil icon next to the device. When the pop-up window appears, it defaults to "DHCP," and all fields are grayed out.
Note: DHCP functions only when the device is connected to the router or network via a wired connection.
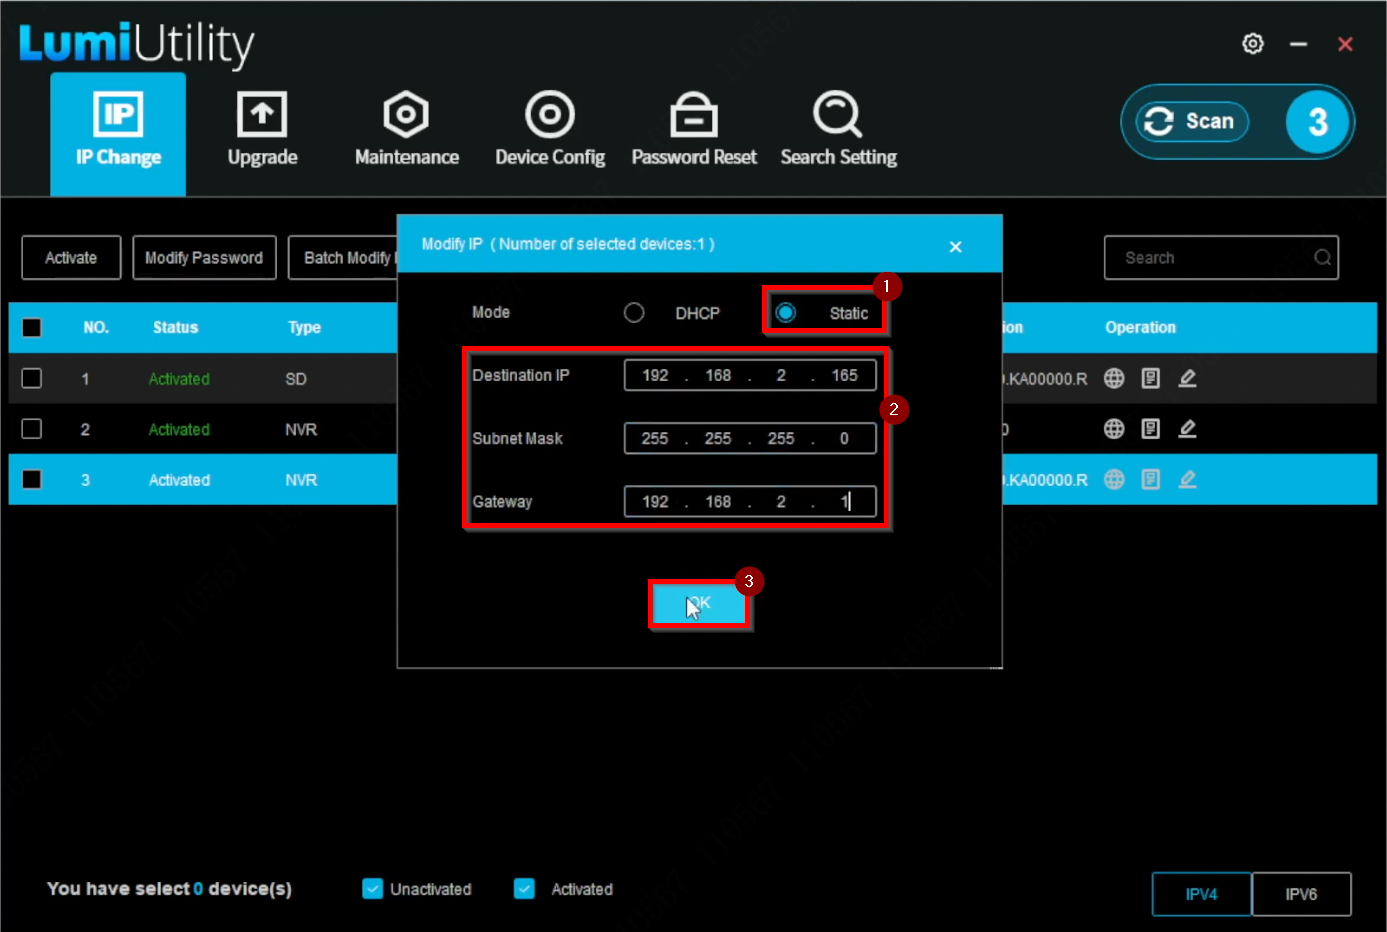
3. Alternatively, select "Static" to manually input the network information for the device.
4. A green checkmark will appear next to the device's IP address when the changes are successful. Refresh the device list to display the updated IP address.
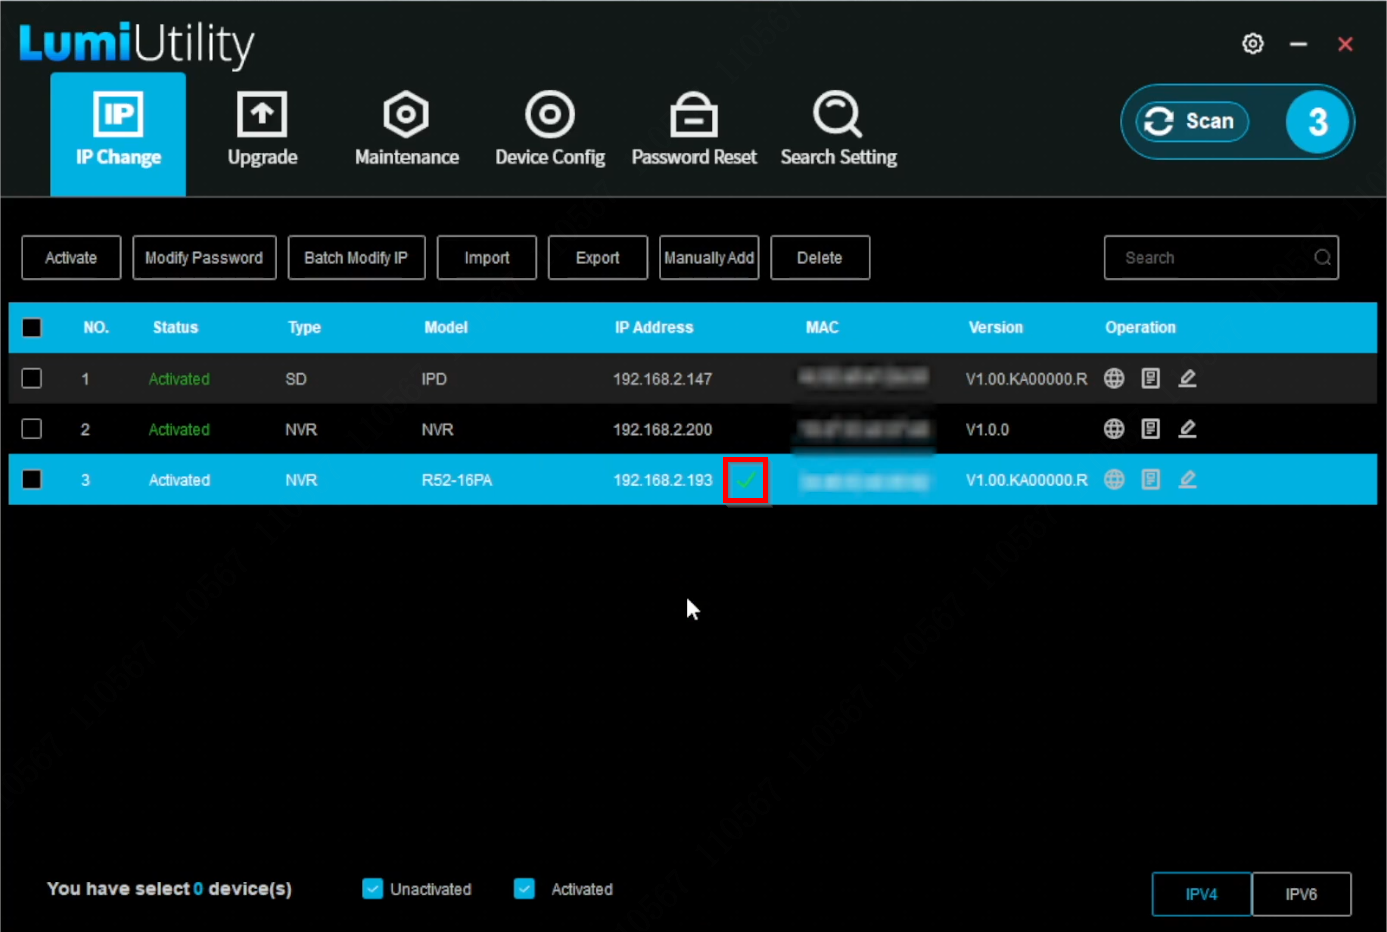
5. The refreshed list will display the updated IP address.