LumiViewer Mobile App/How to Add Devices in LumiViewer: Difference between revisions
From Luminys WIKI
Techsupport (talk | contribs) No edit summary |
Techsupport (talk | contribs) No edit summary |
||
| Line 10: | Line 10: | ||
===Video Instructions=== | ===Video Instructions=== | ||
< | <youtube>https://www.youtube.com/watch?v=rGFl7wH8jzE</youtube> | ||
===Step by Step Instructions=== | ===Step by Step Instructions=== | ||
Revision as of 17:38, 7 January 2025

How to Add Devices in LumiViewer
Description
This tutorial will go over how to add devices in LumiViewer mobile app.
Prerequisites
- Devices already initialized, and powered on.
Video Instructions
Step by Step Instructions
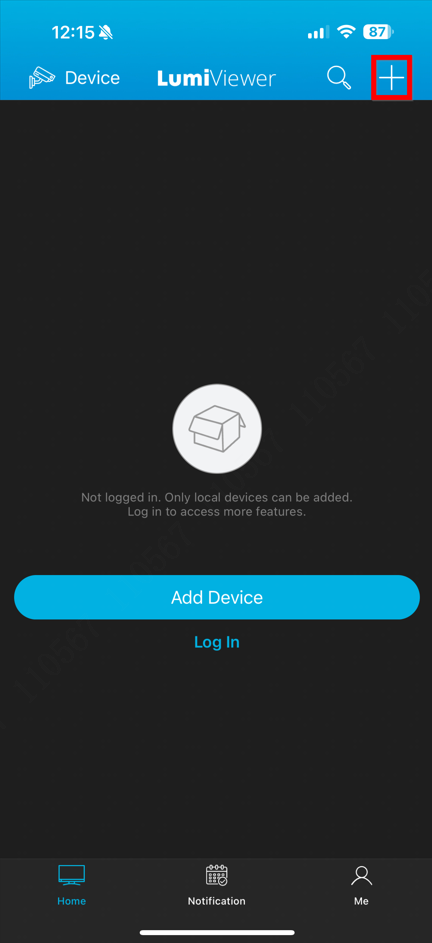
1. Launch the LumiViewer app on the phone and tap the “+” sign to start the adding process.
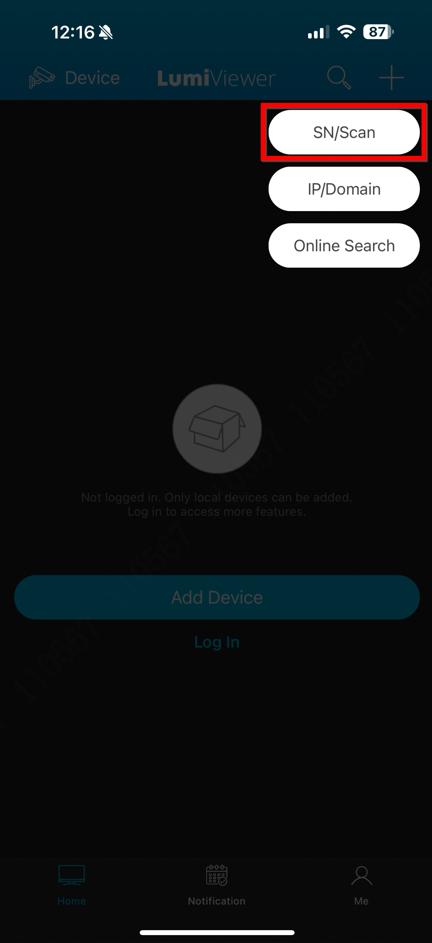
2. Select “SN/Scan” to scan the device's QR code.
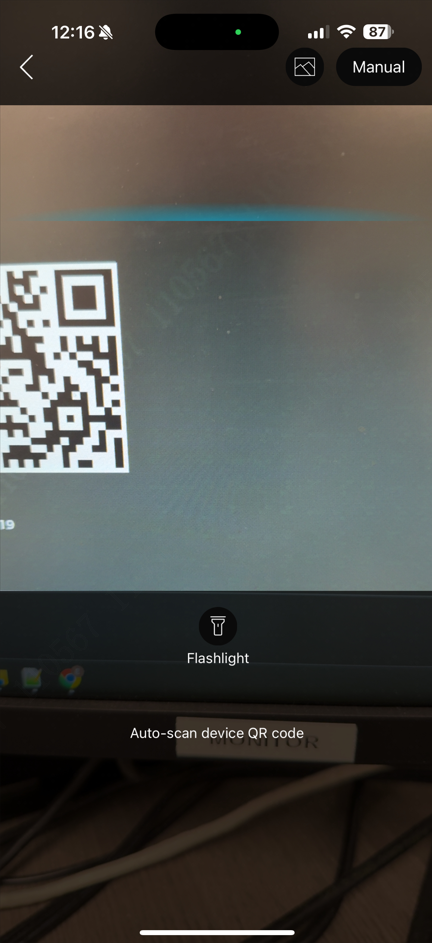
3. Scan the QR code.
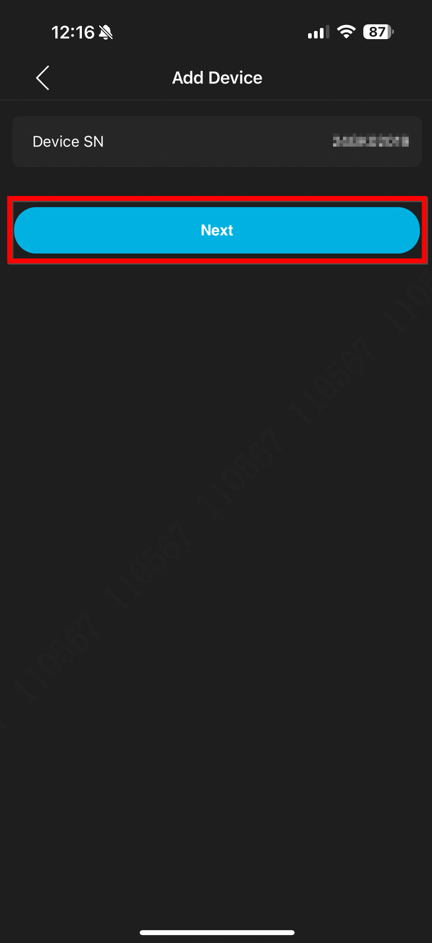
4. Confirm the device's serial number displayed at the top, then select “Next.”
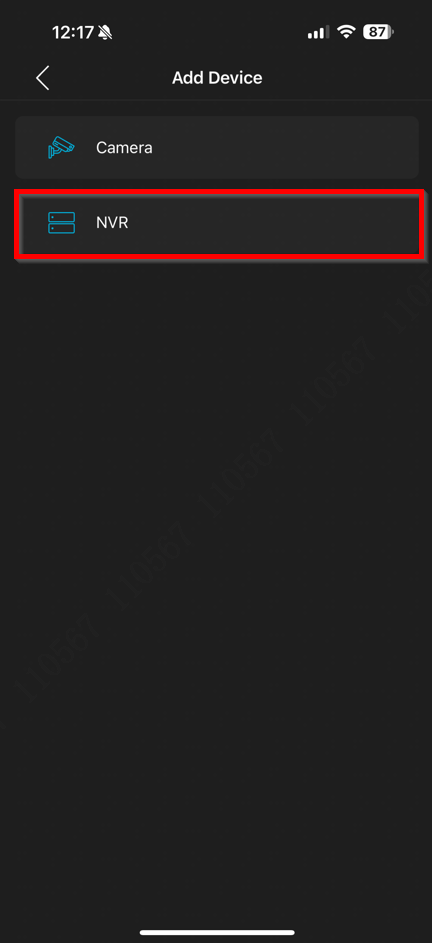
5. Choose the appropriate device to add. In this example, selecting “NVR” in this case.
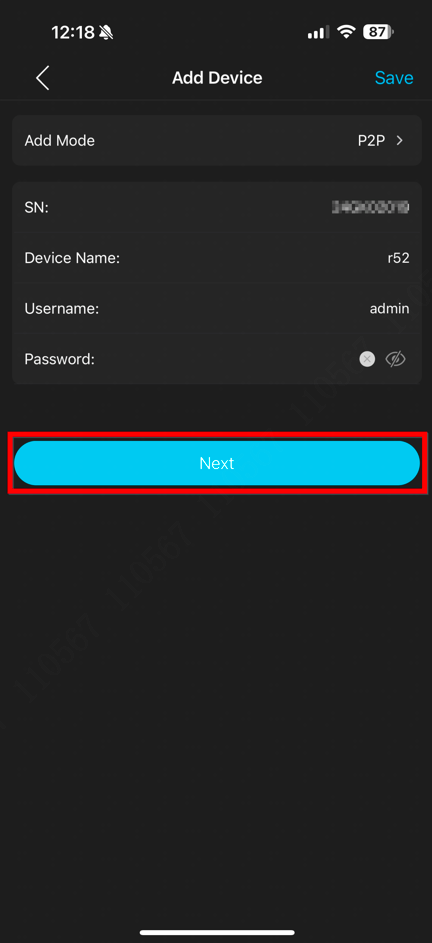
6. Provide the user-defined device name, username, and password, then select “Next.”
7. The live view of the recorder will appear upon completion.

