NVR/LumiSearch: Difference between revisions
From Luminys WIKI
Techsupport (talk | contribs) No edit summary |
Techsupport (talk | contribs) No edit summary |
||
| Line 31: | Line 31: | ||
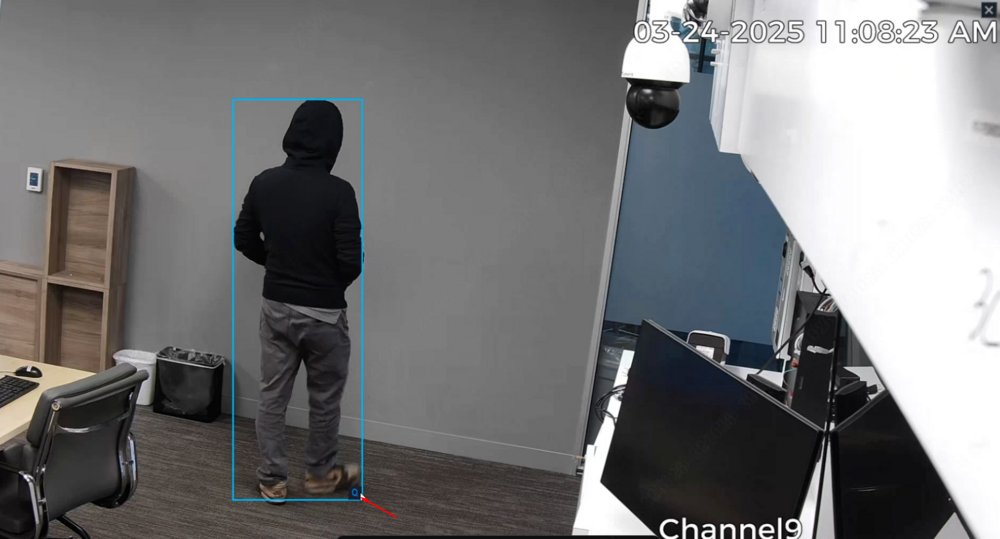
5. Once the LumiSearch icon is clicked, the screen will zoom in on the target and highlight it with a blue rectangle. Next, click the magnifying glass icon to proceed. | 5. Once the LumiSearch icon is clicked, the screen will zoom in on the target and highlight it with a blue rectangle. Next, click the magnifying glass icon to proceed. | ||
[[File:Lumisearch_5.png|1000px|link=https://wiki.luminyscorp.com/images/8/81/Lumisearch_5.png]] | [[File:Lumisearch_5.png|1000px|link=https://wiki.luminyscorp.com/images/8/81/Lumisearch_5.png]] | ||
Revision as of 12:19, 31 March 2025
LumiSearch on WebGUI
Description
This tutorial provides instructions for performing LumiSearch over the webGUI.
Prerequisites
- Access NVR's webGUI
Video Instructions
Coming Soon
Step by Step Instructions
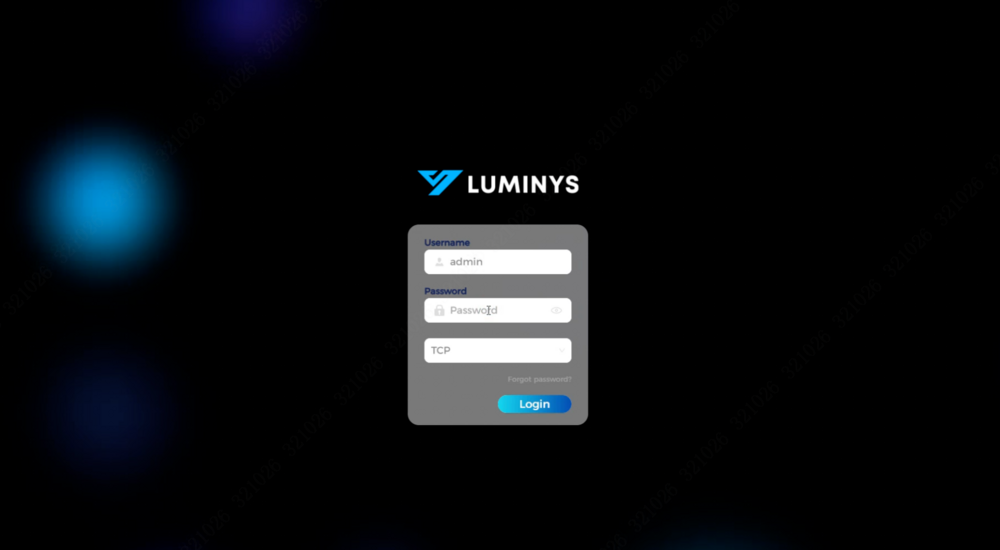
1. Start by accessing the NVR's web GUI and entering the login credentials.
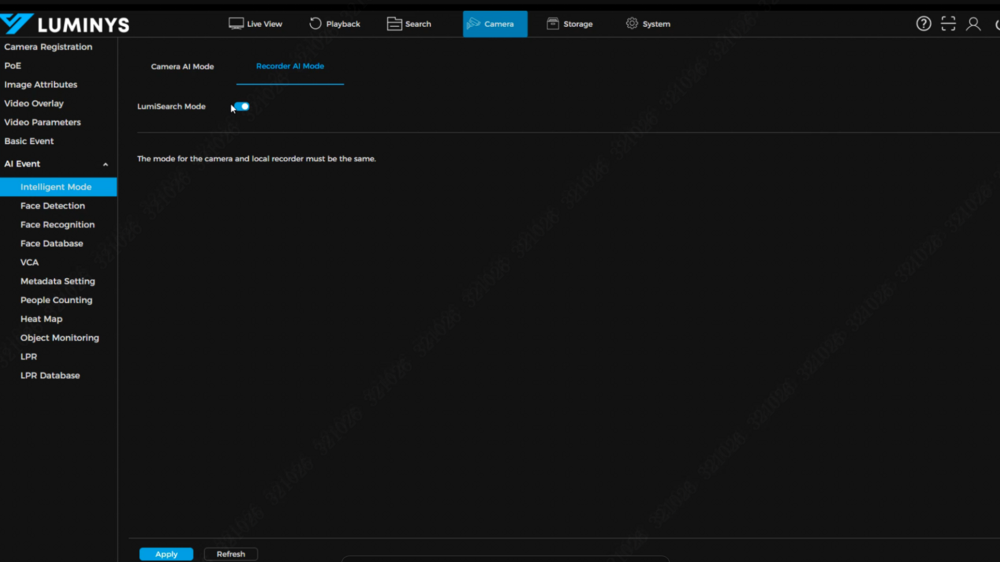
2. After logging in, verify that LumiSearch mode is enabled on the NVR.
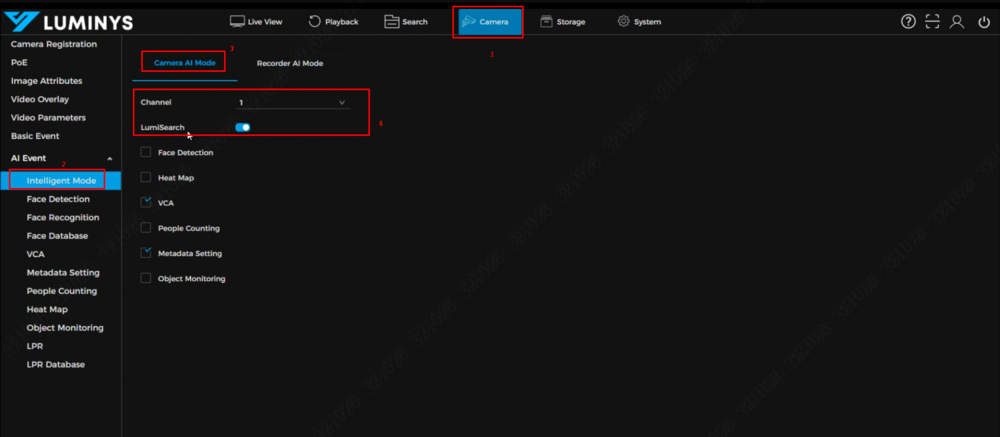
3. Additionally, confirm that the connected cameras support LumiSearch and that LumiSearch mode is enabled.
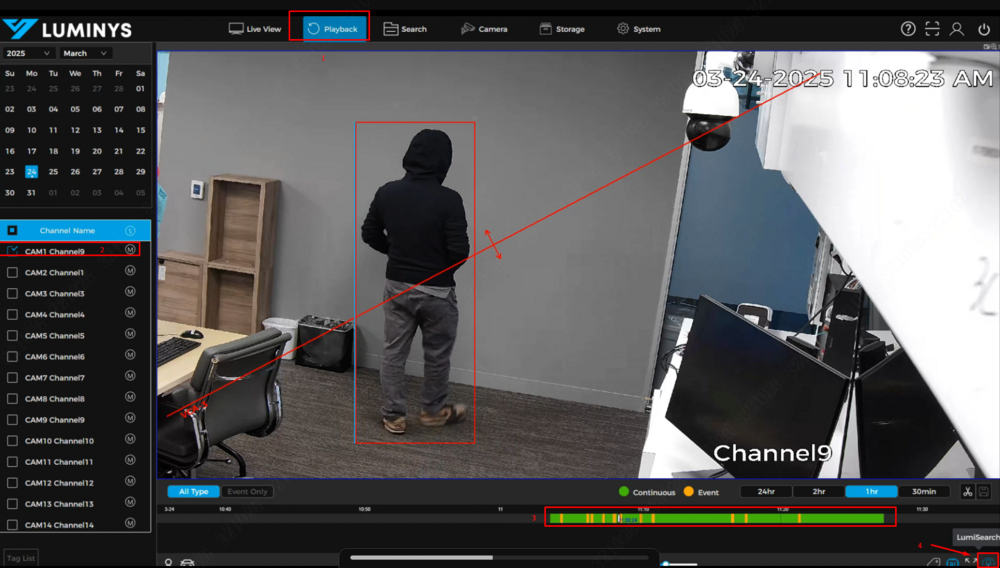
4. Click the small 'person icon' at the bottom right of the screen—this is the LumiSearch button.
5. Once the LumiSearch icon is clicked, the screen will zoom in on the target and highlight it with a blue rectangle. Next, click the magnifying glass icon to proceed.


