NVR/System Settings: Difference between revisions
Techsupport (talk | contribs) Created page with "= <div class="center">How to Configure System Settings</div> = ===Description=== This tutorial will go over some of the most used system settings on the recorder. ===Prerequisites=== * Web browser on a computer ===Video Instructions=== <!--<youtube>https://www.youtube.com/watch?v=IQCQncIXNGM&ab_channel=LuminysSystemsCorporation</youtube>--> ===Step by Step Instructions=== 1. Go to System > General > Basic Configuration. In this section, the device name, language, vi..." |
Techsupport (talk | contribs) No edit summary |
||
| Line 9: | Line 9: | ||
===Video Instructions=== | ===Video Instructions=== | ||
<!--<youtube>https://www.youtube.com/watch?v=IQCQncIXNGM&ab_channel=LuminysSystemsCorporation</youtube>--> | <!--<youtube>https://www.youtube.com/watch?v=IQCQncIXNGM&ab_channel=LuminysSystemsCorporation</youtube>--> | ||
Coming soon | |||
===Step by Step Instructions=== | ===Step by Step Instructions=== | ||
Latest revision as of 12:04, 1 May 2025
How to Configure System Settings
Description
This tutorial will go over some of the most used system settings on the recorder.
Prerequisites
- Web browser on a computer
Video Instructions
Coming soon
Step by Step Instructions
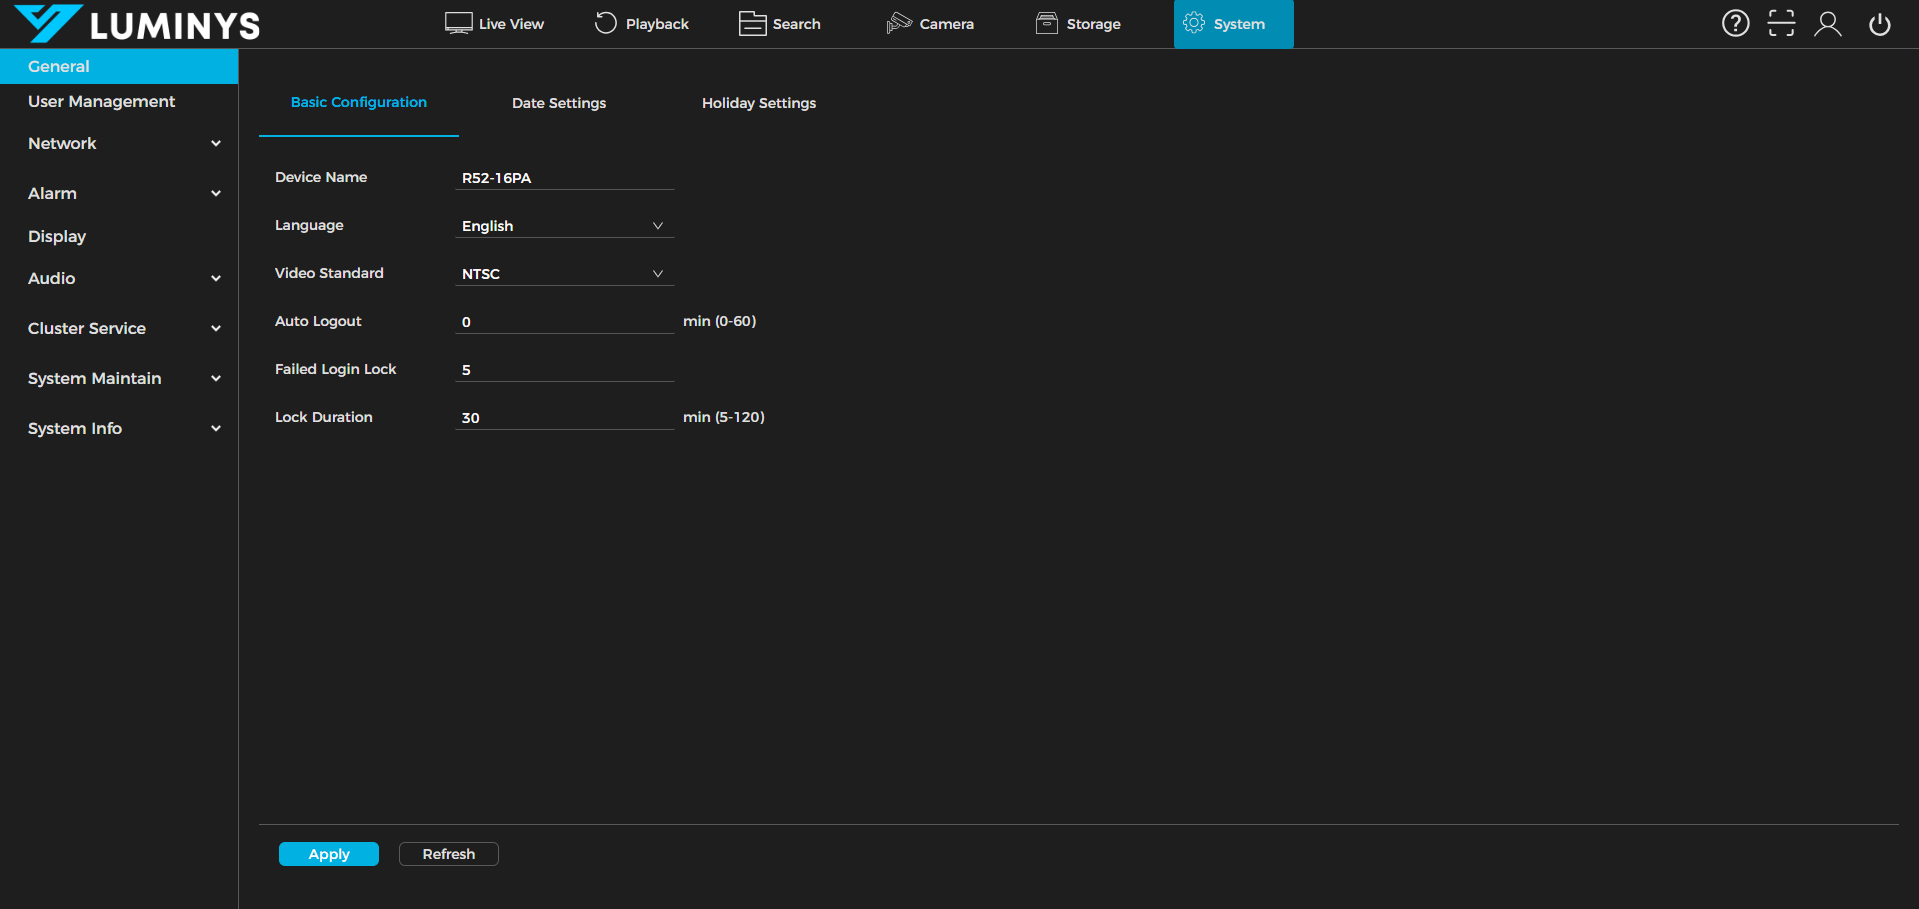
1. Go to System > General > Basic Configuration. In this section, the device name, language, video standard, and other settings can be adjusted.
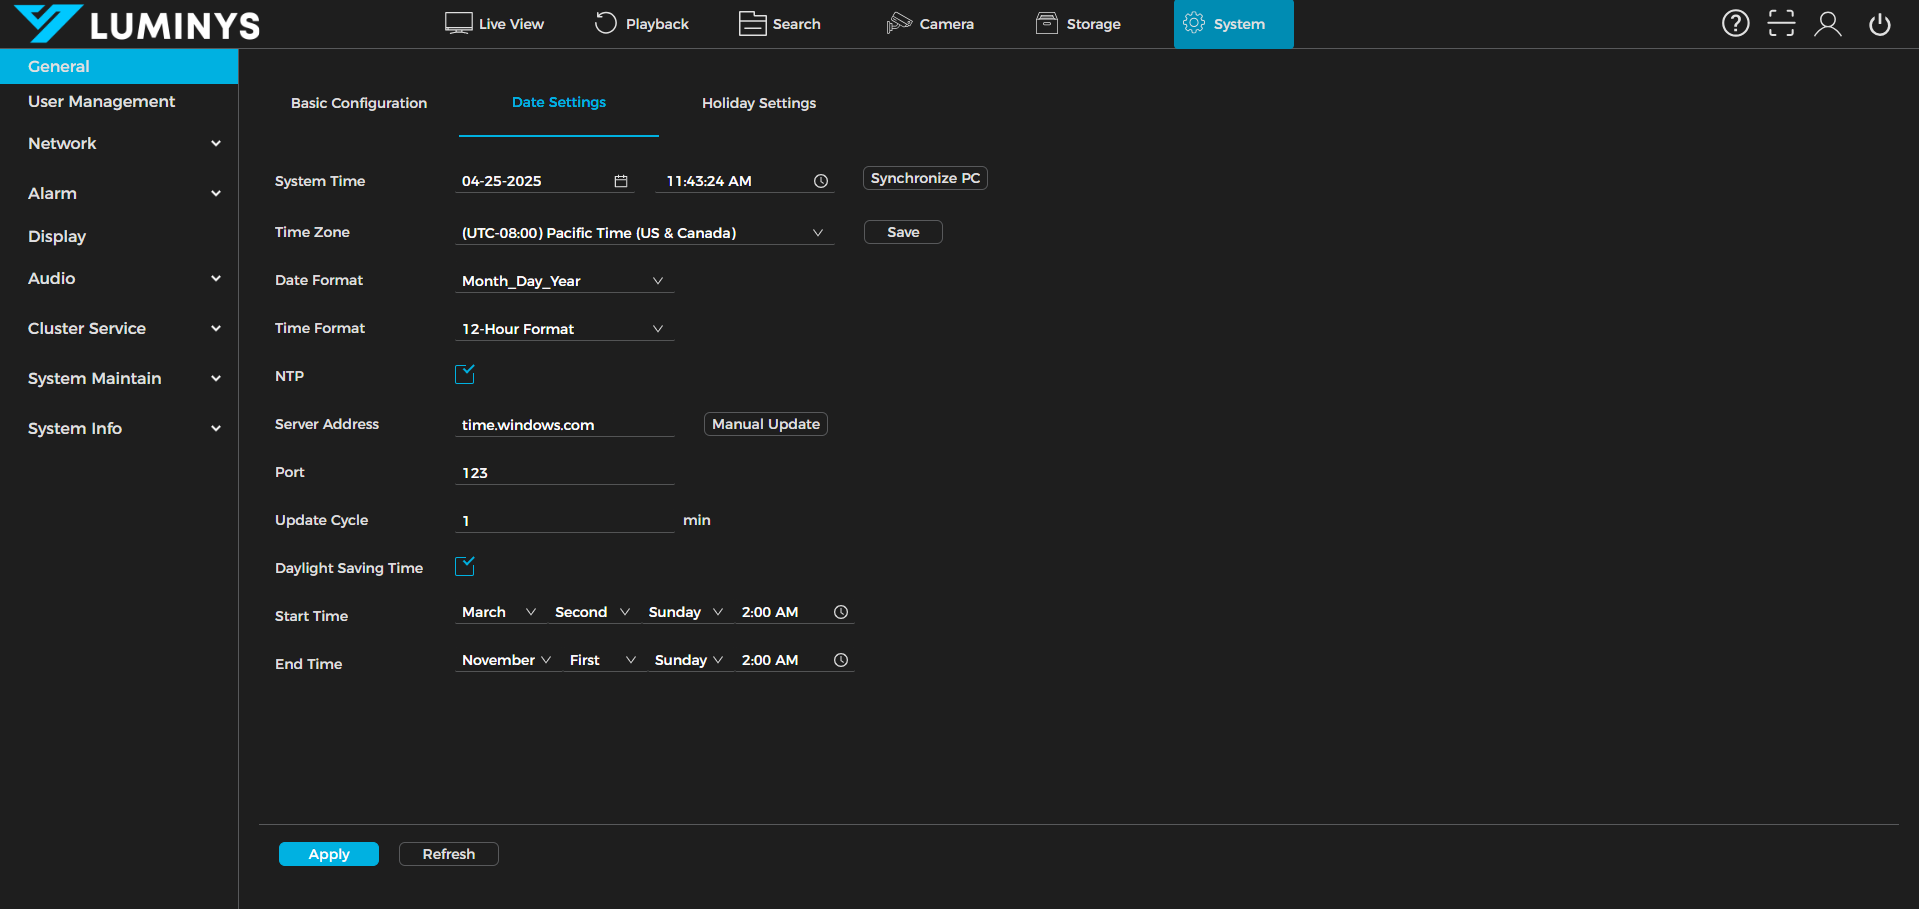
2. Proceed to Date Settings. In this section, system time, time zone, date format, NTP, and DST can be configured as needed.
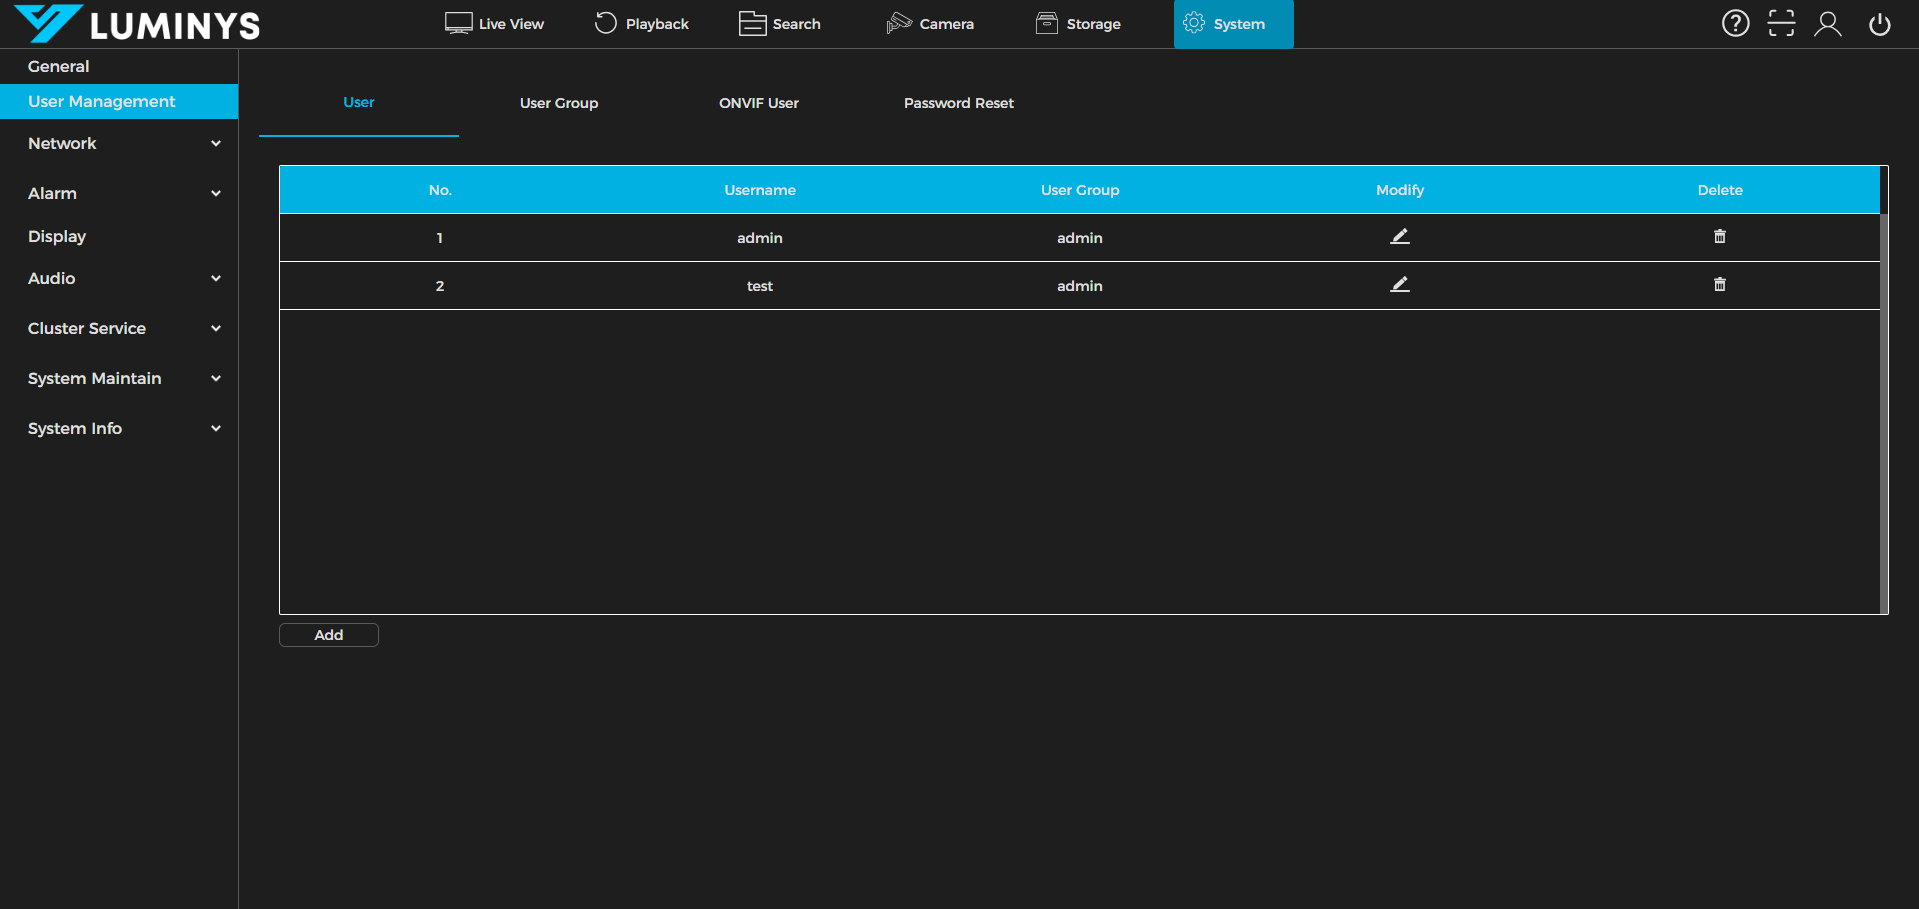
3. Under User Management, user accounts can be created. By default, the admin user account is present and cannot be removed.
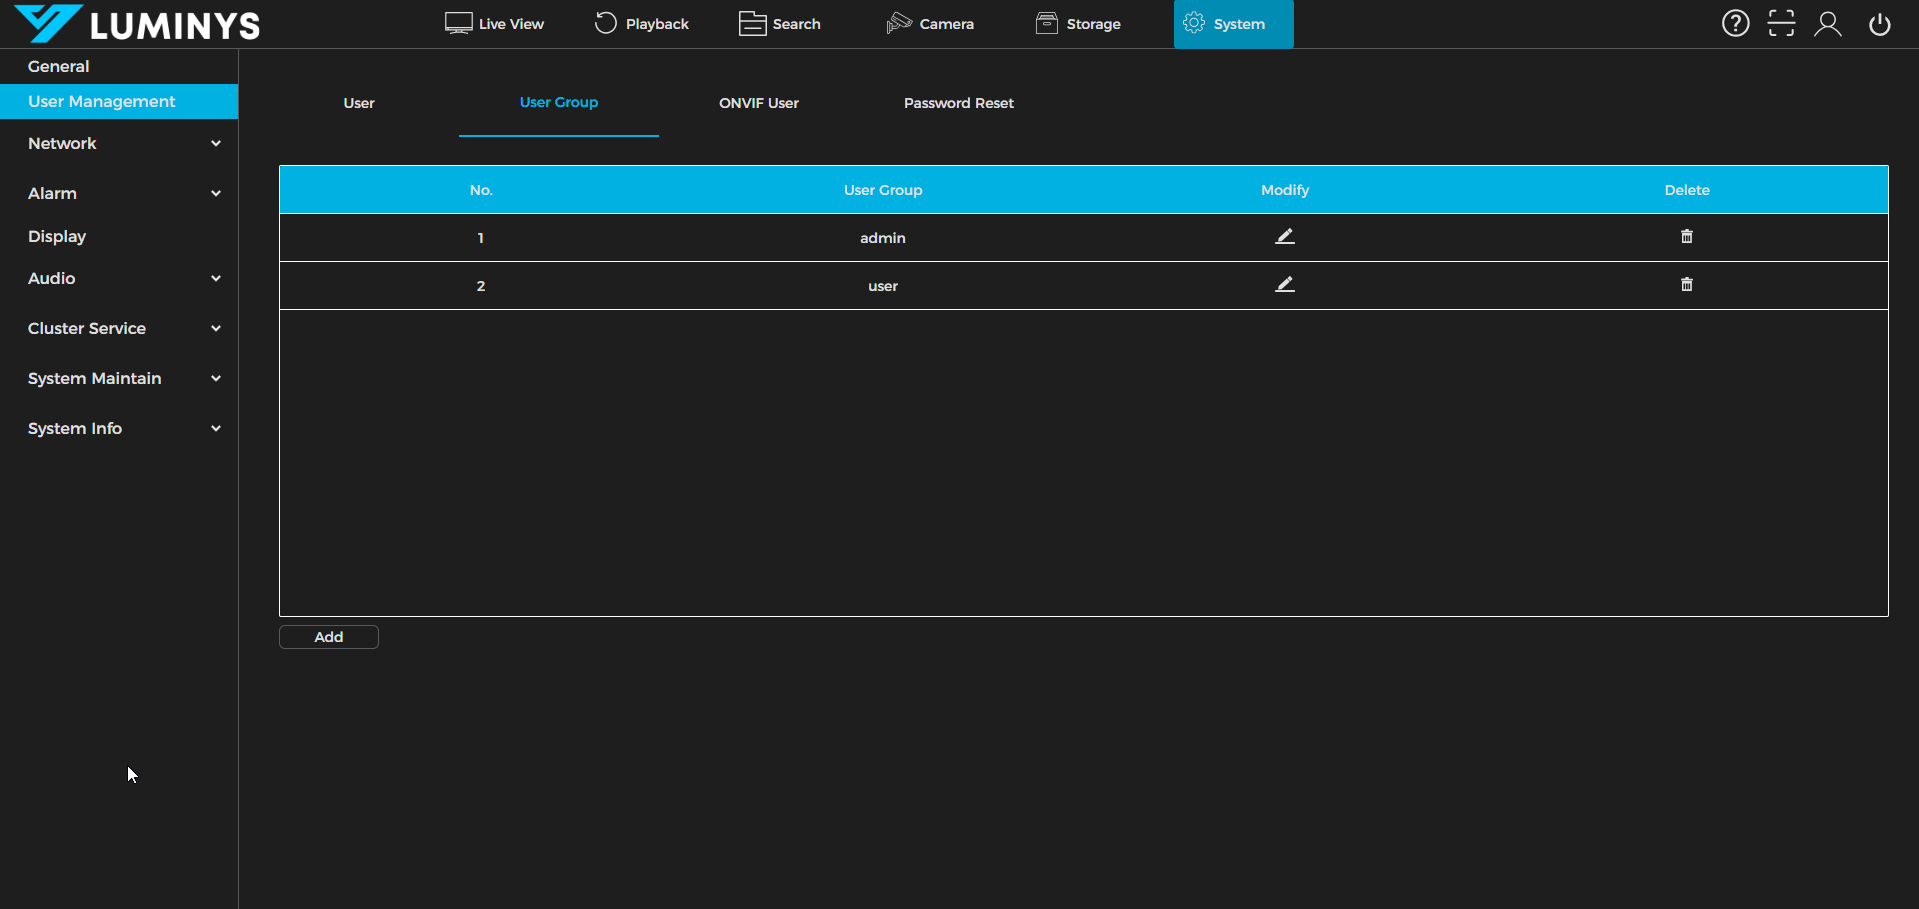
4. In the User Group section, new user groups can be created to organize users. By default, the system includes the admin and user groups.
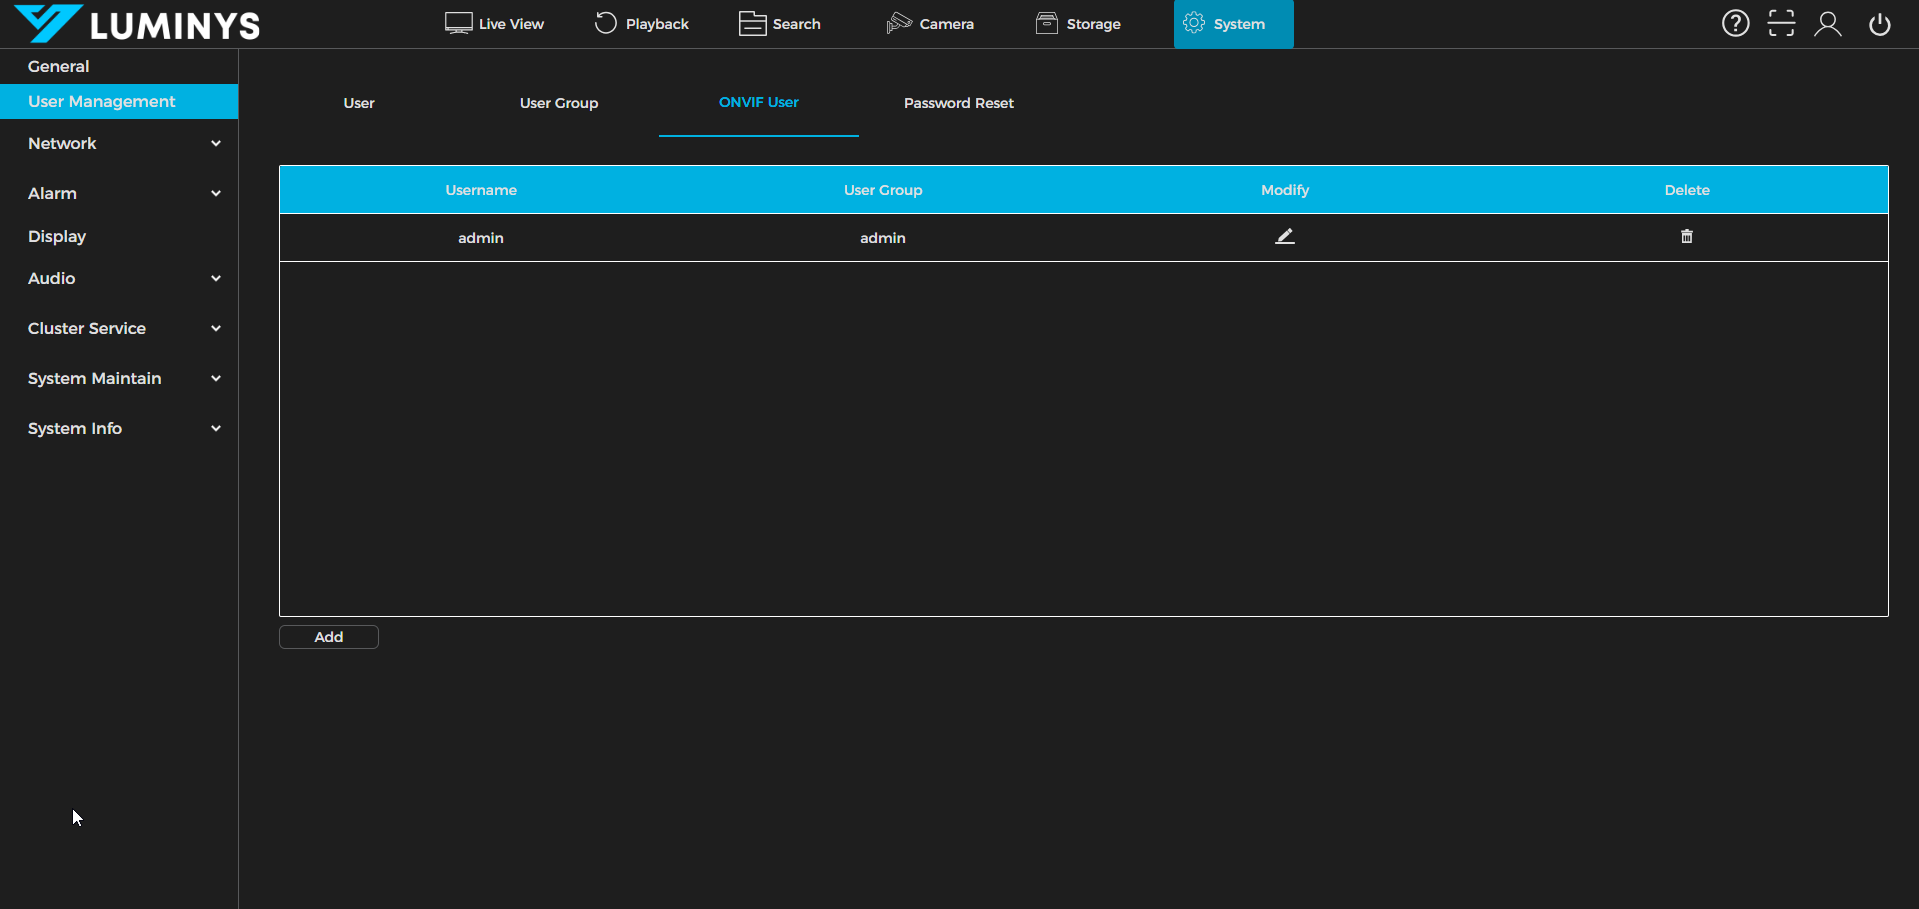
5. Under ONVIF User, user accounts can be created specifically for adding ONVIF accounts. For example, an ONVIF account is required when adding Luminys devices to third-party recorders.
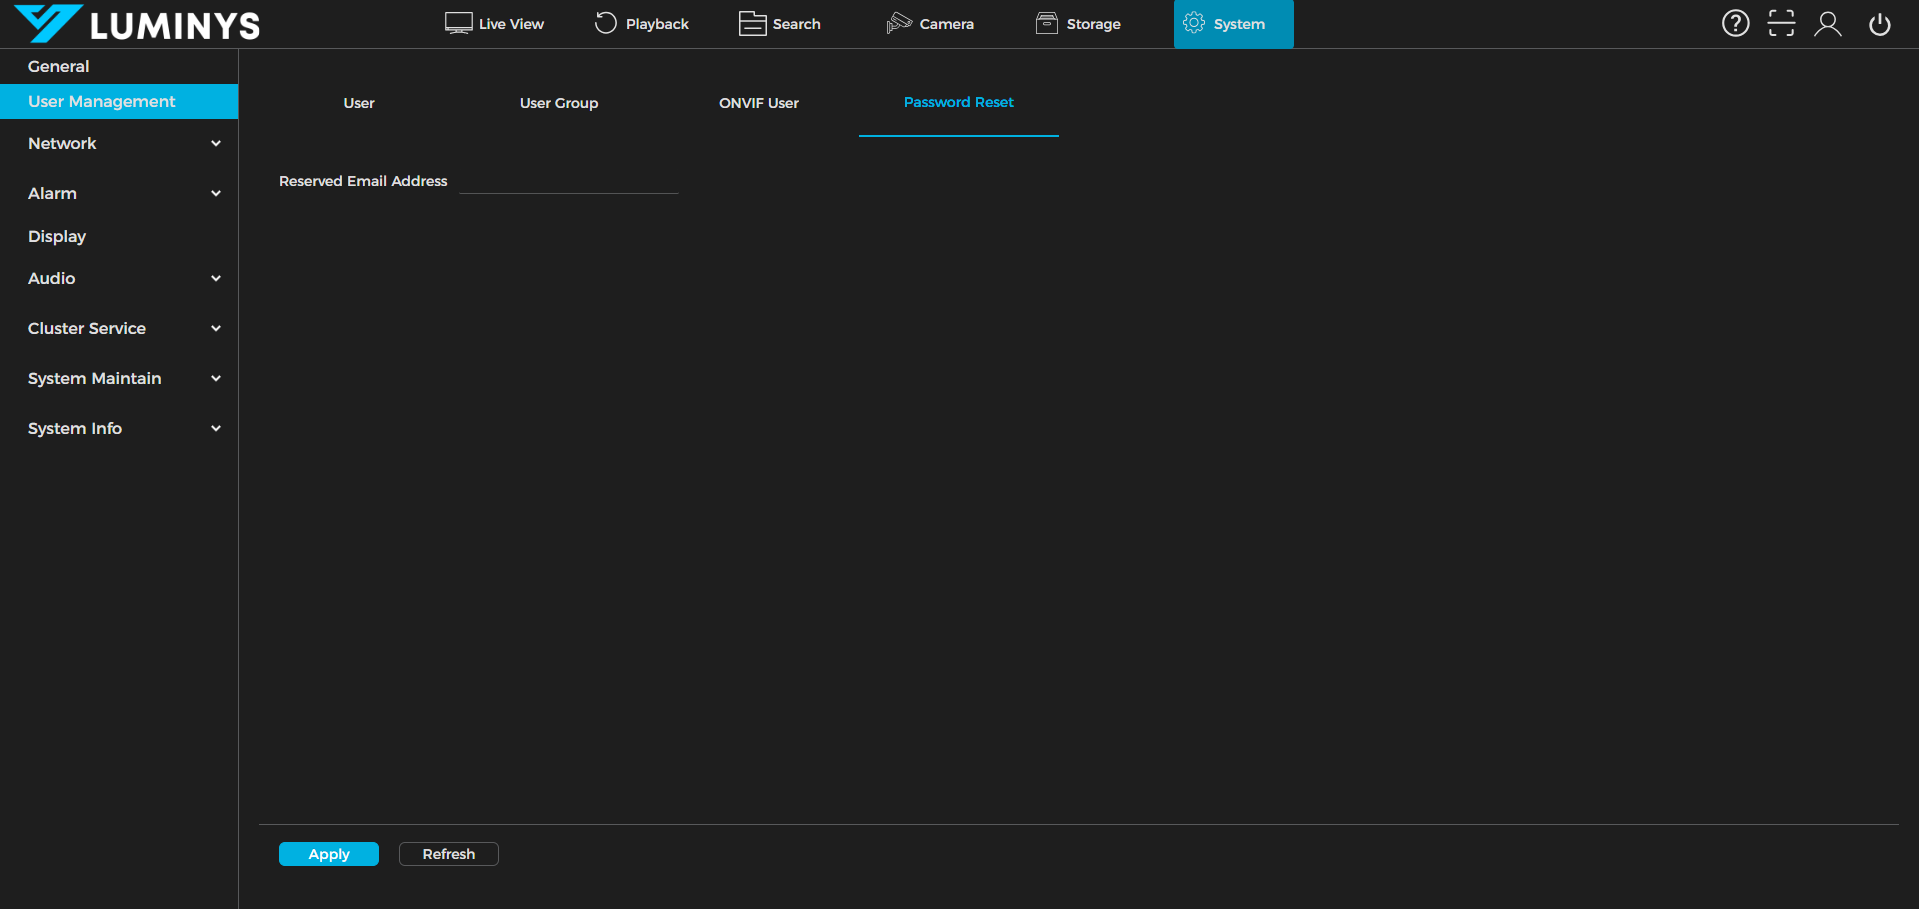
6. In the Password Reset section, enter the email address designated for resetting the recorder’s password.
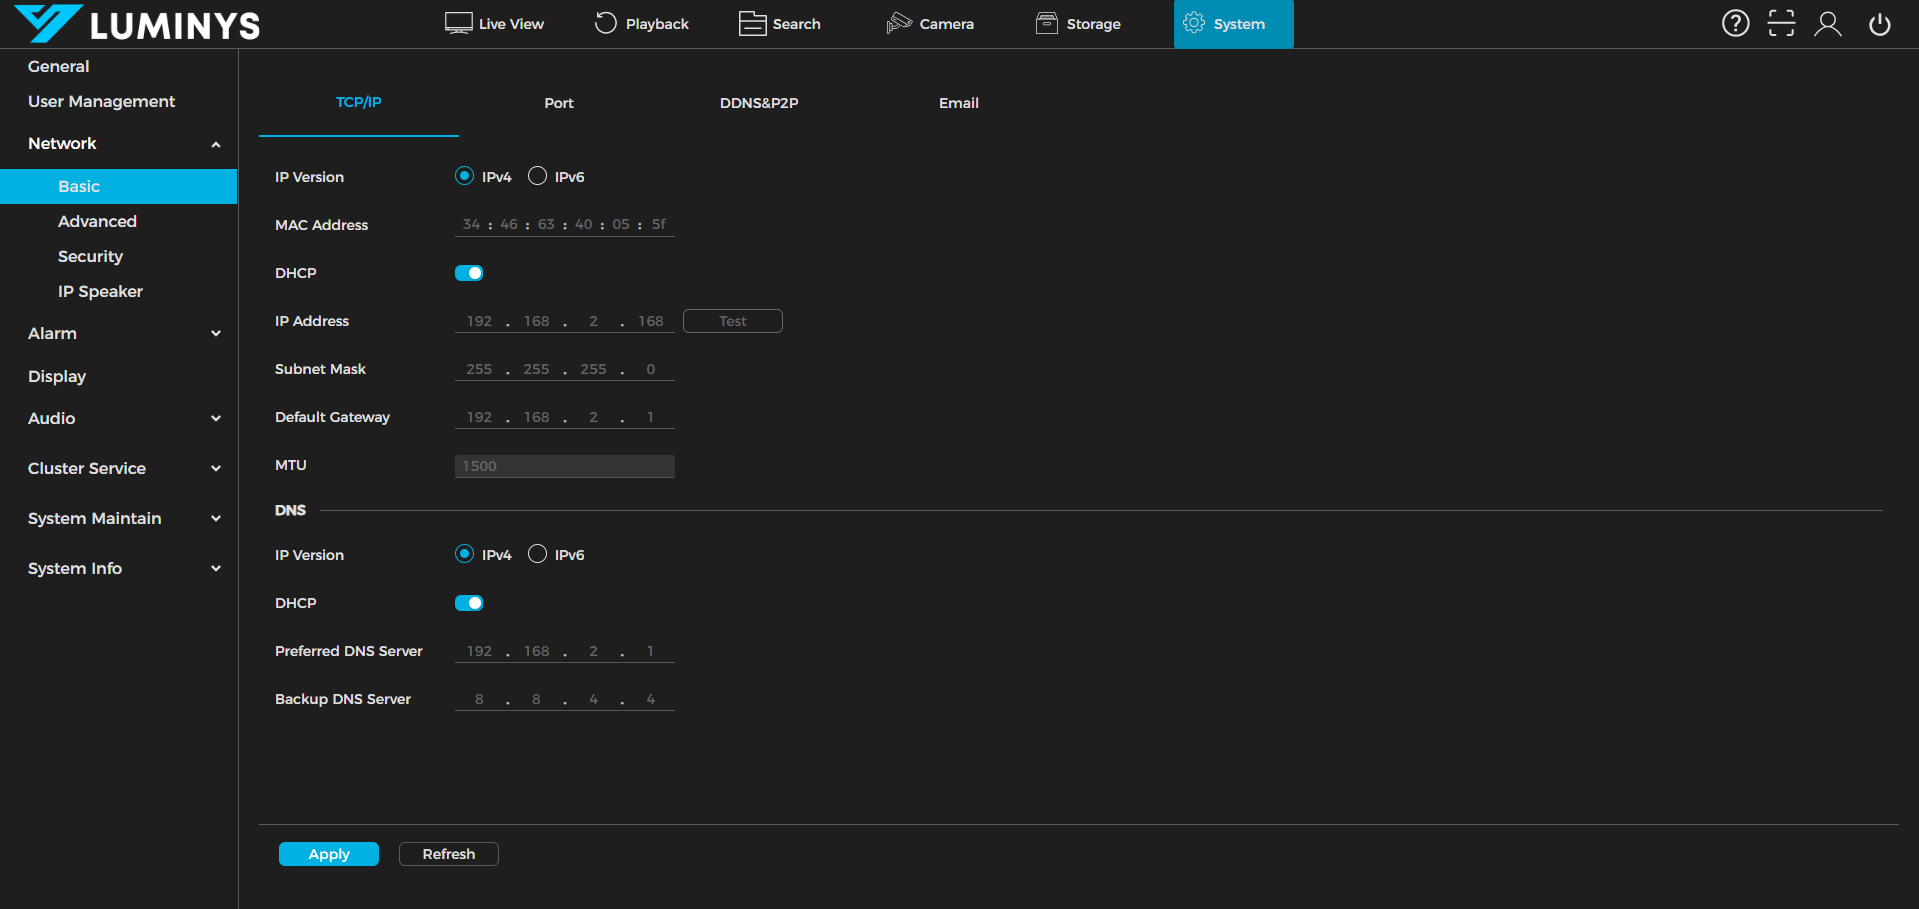
7. Next, focus on the Network section under the Basic tab. This area includes TCP/IP, Port, DDNS & P2P, and Email settings. In TCP/IP, configure either DHCP or a static IP address for the recorder, along with DNS settings.
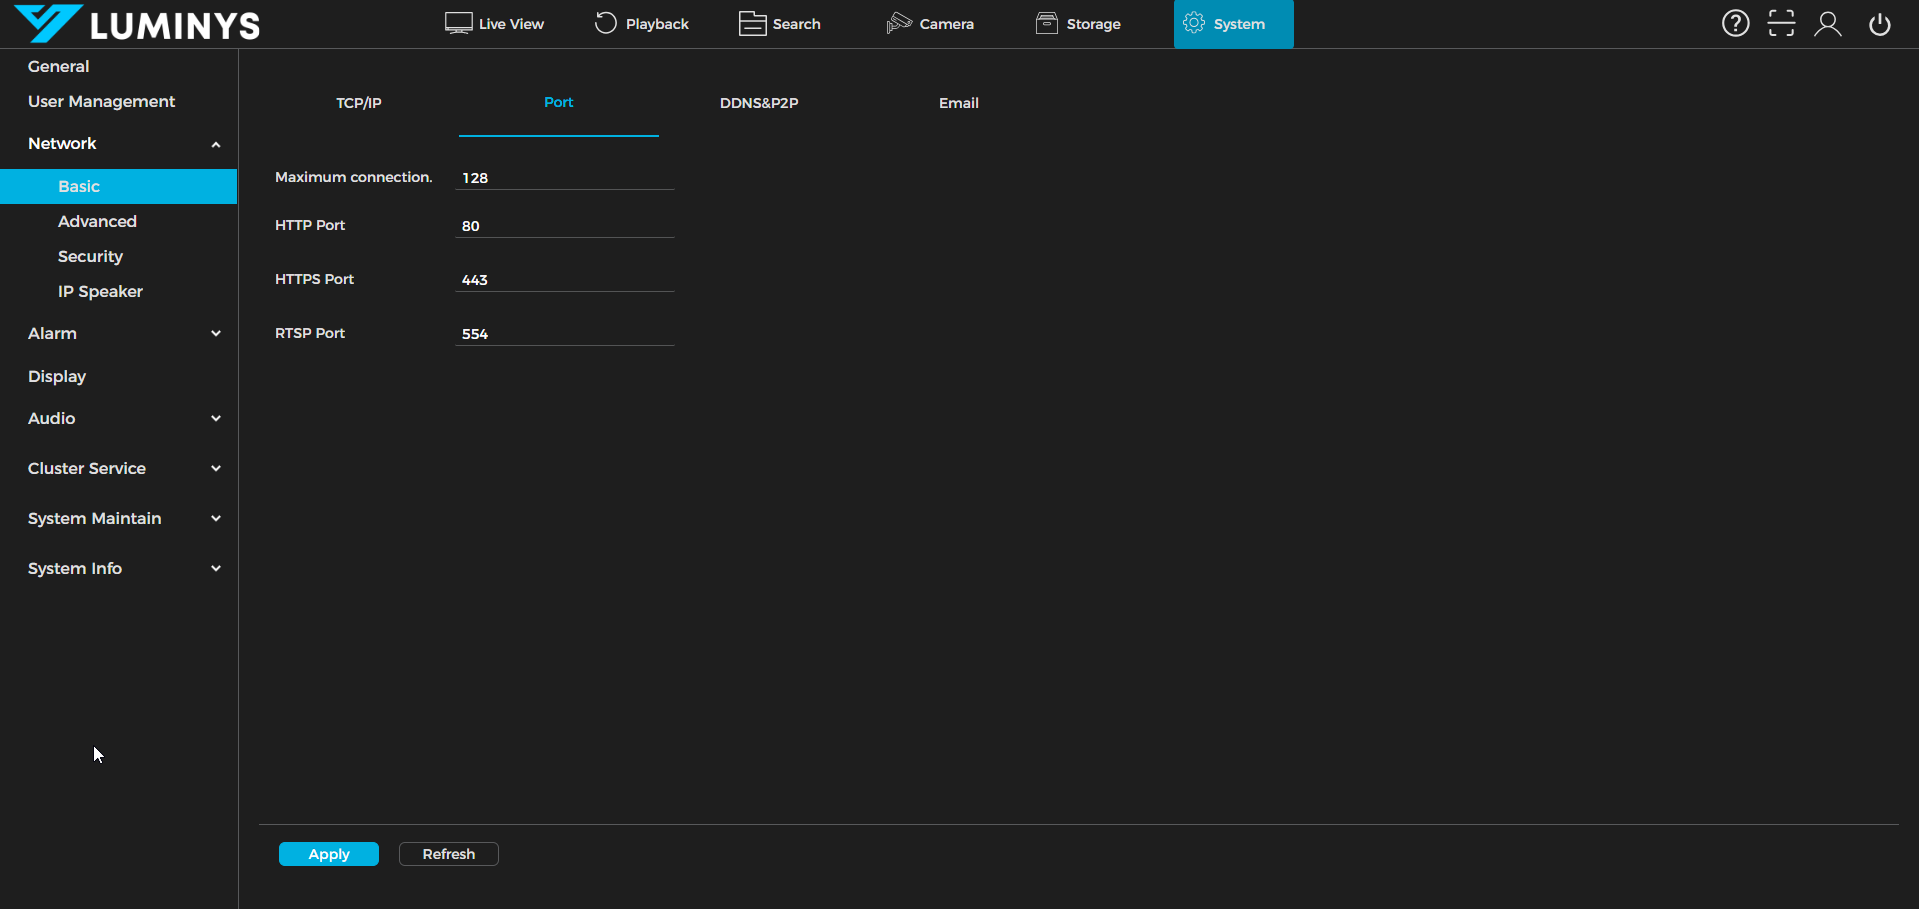
8. In the Port section, adjust the maximum number of connections (up to 128 concurrent connections), as well as the HTTP, HTTPS, and RTSP port settings.
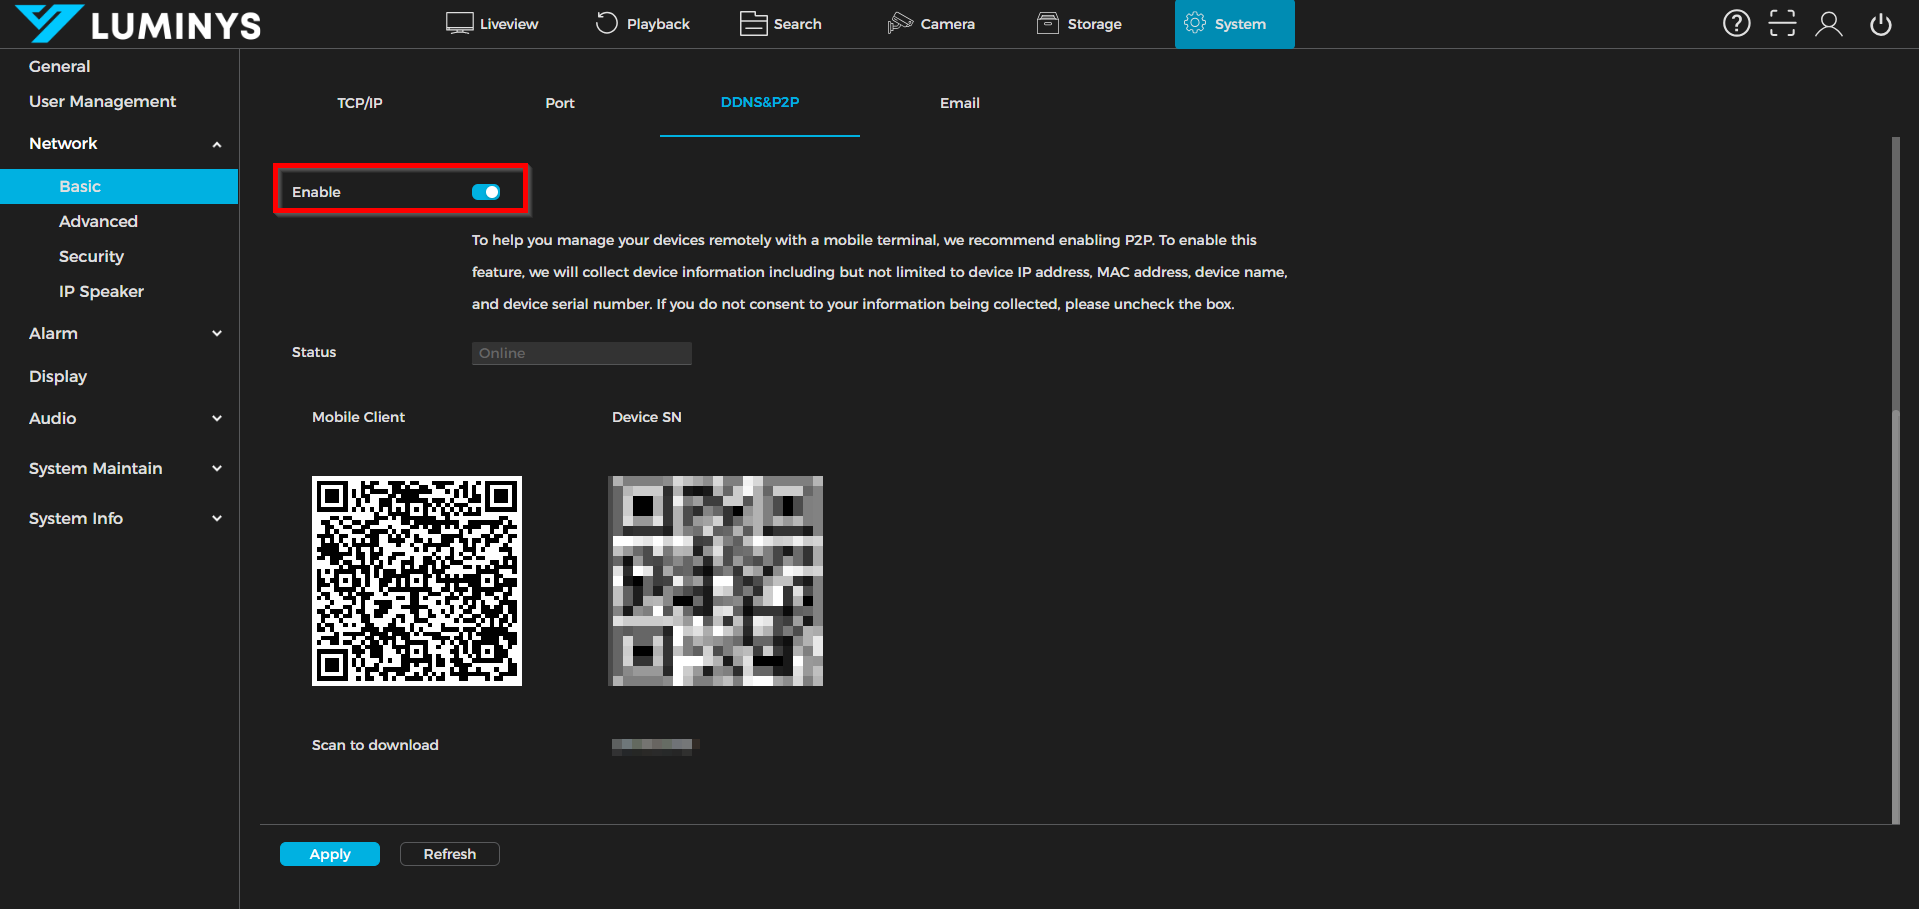
9. In the DDNS & P2P section, ensure the Enable button is activated to allow the use of a P2P connection.
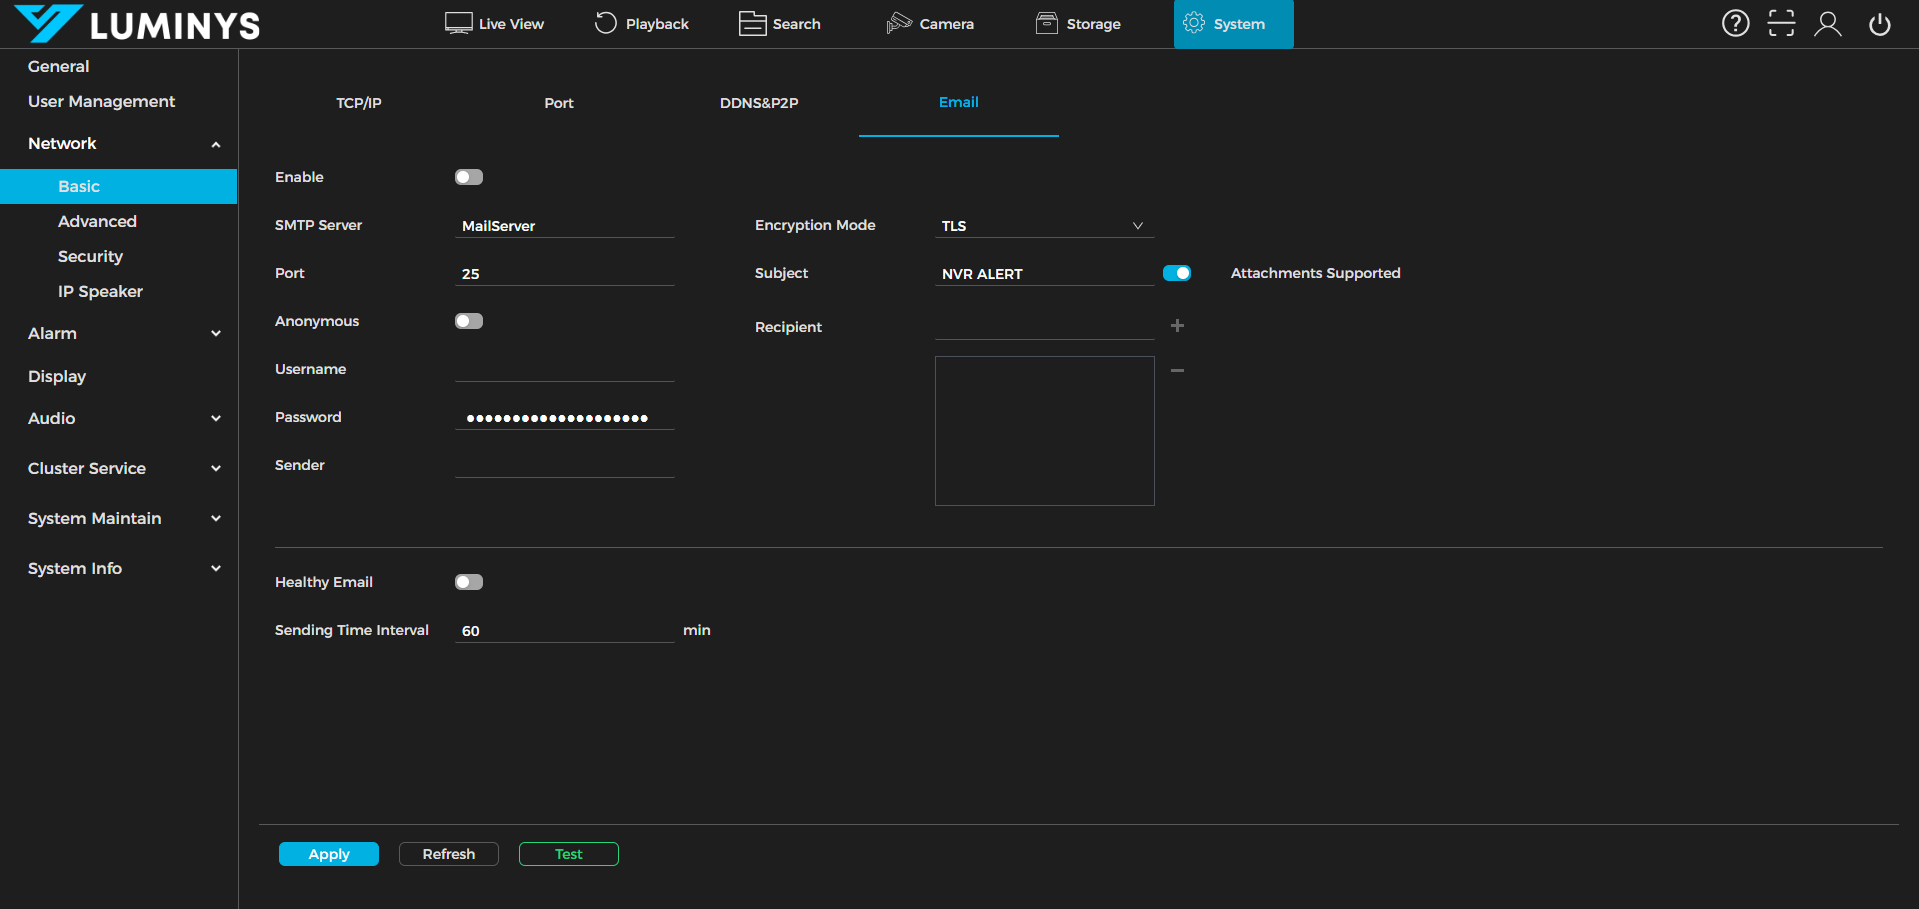
10. In the Email section, configure the SMTP connection settings.
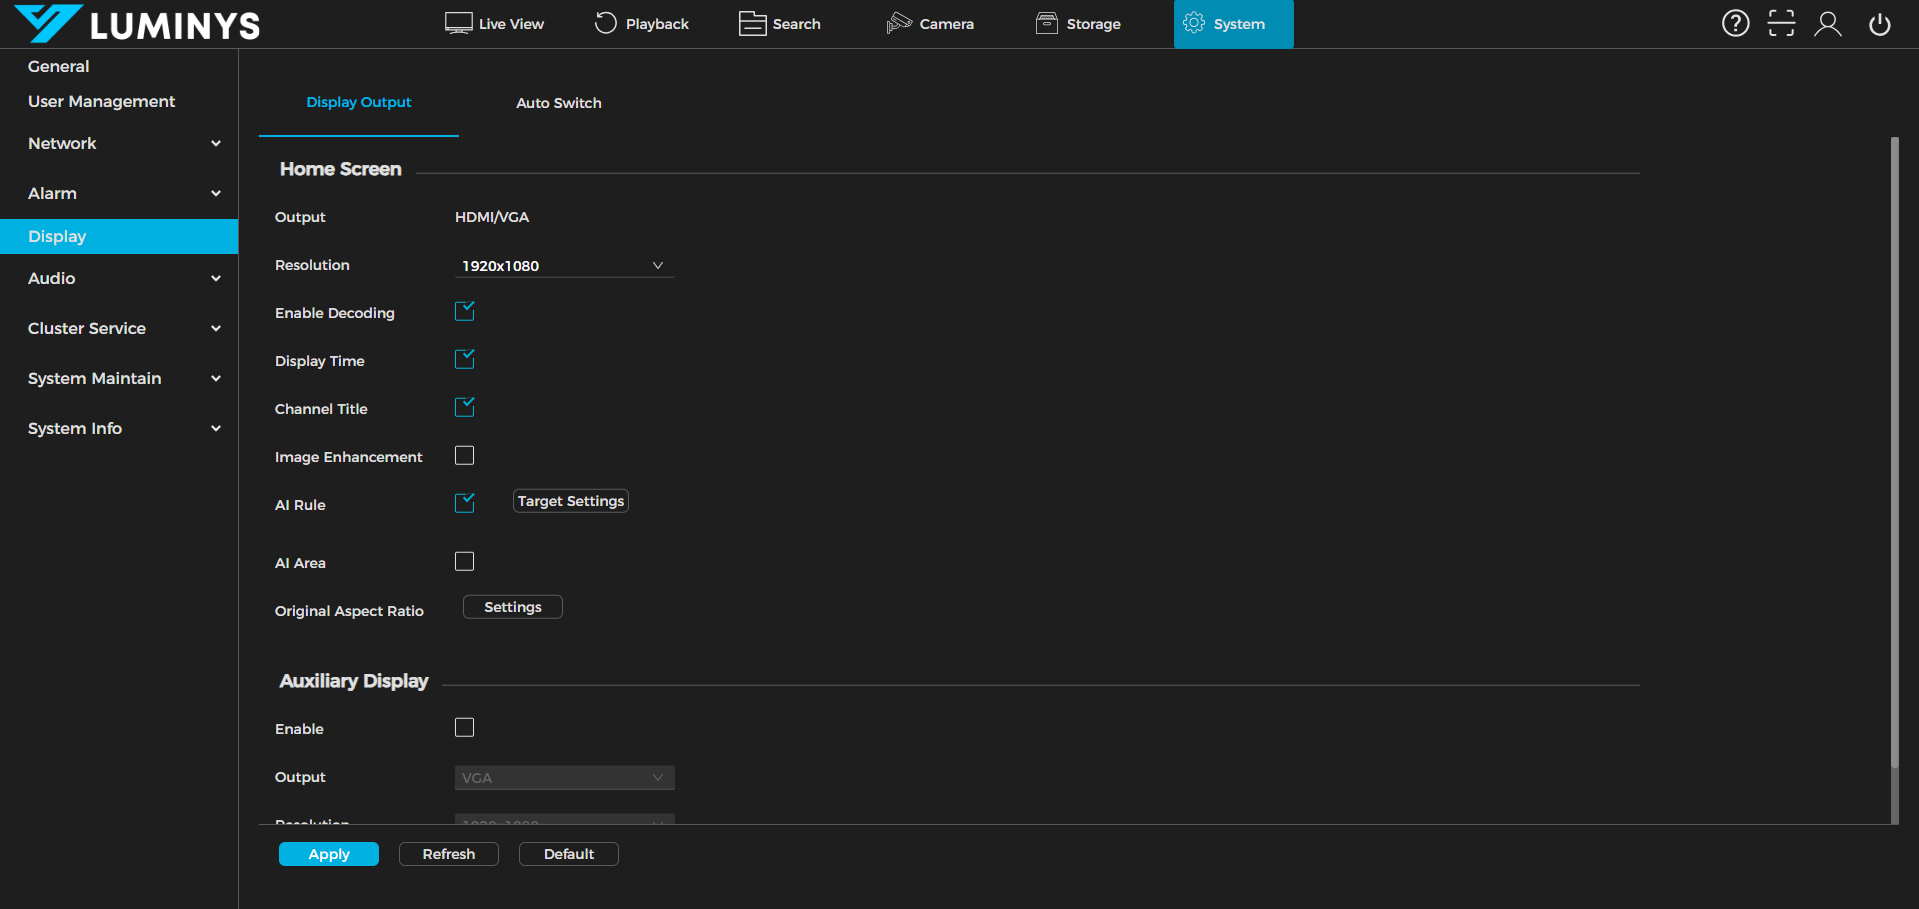
11. In the Display section, adjust the resolution for HDMI/VGA, enable decoding, and set display time, channel time, and other related settings. Auxiliary Display refers to the sub-screen, which is the second monitor.
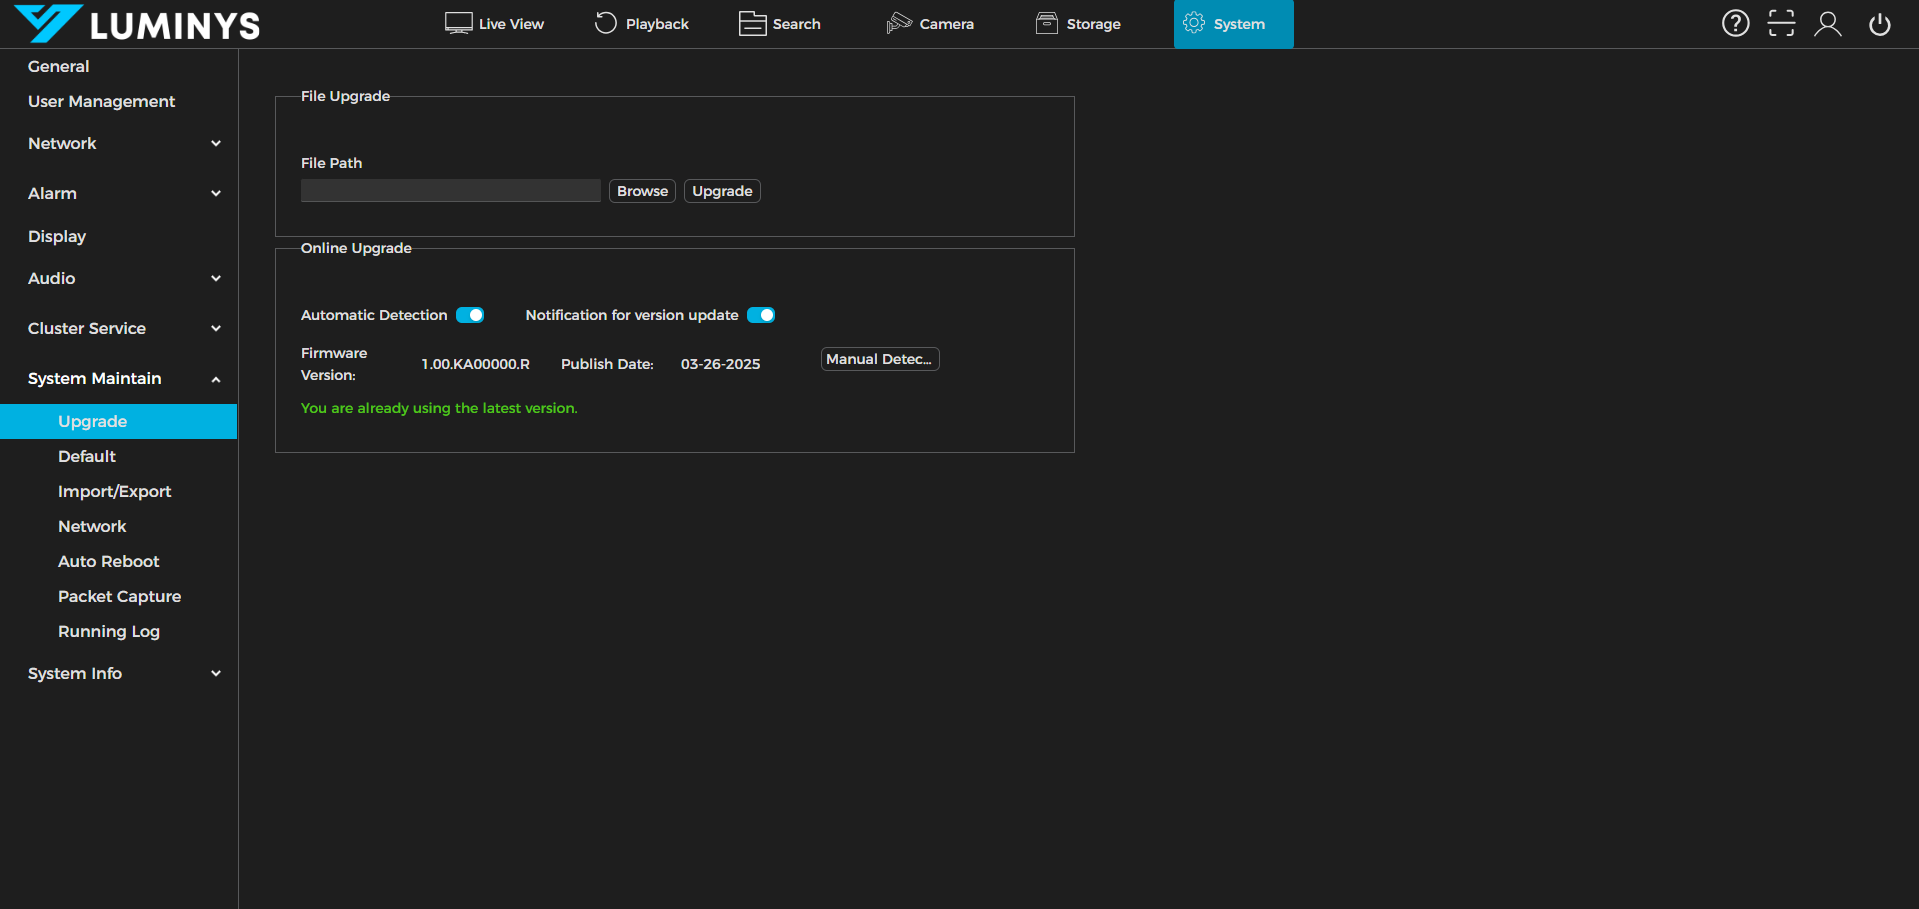
12. In the System Maintain section, the most commonly used settings are Upgrade and Default. In Upgrade, the recorder’s firmware can be updated.
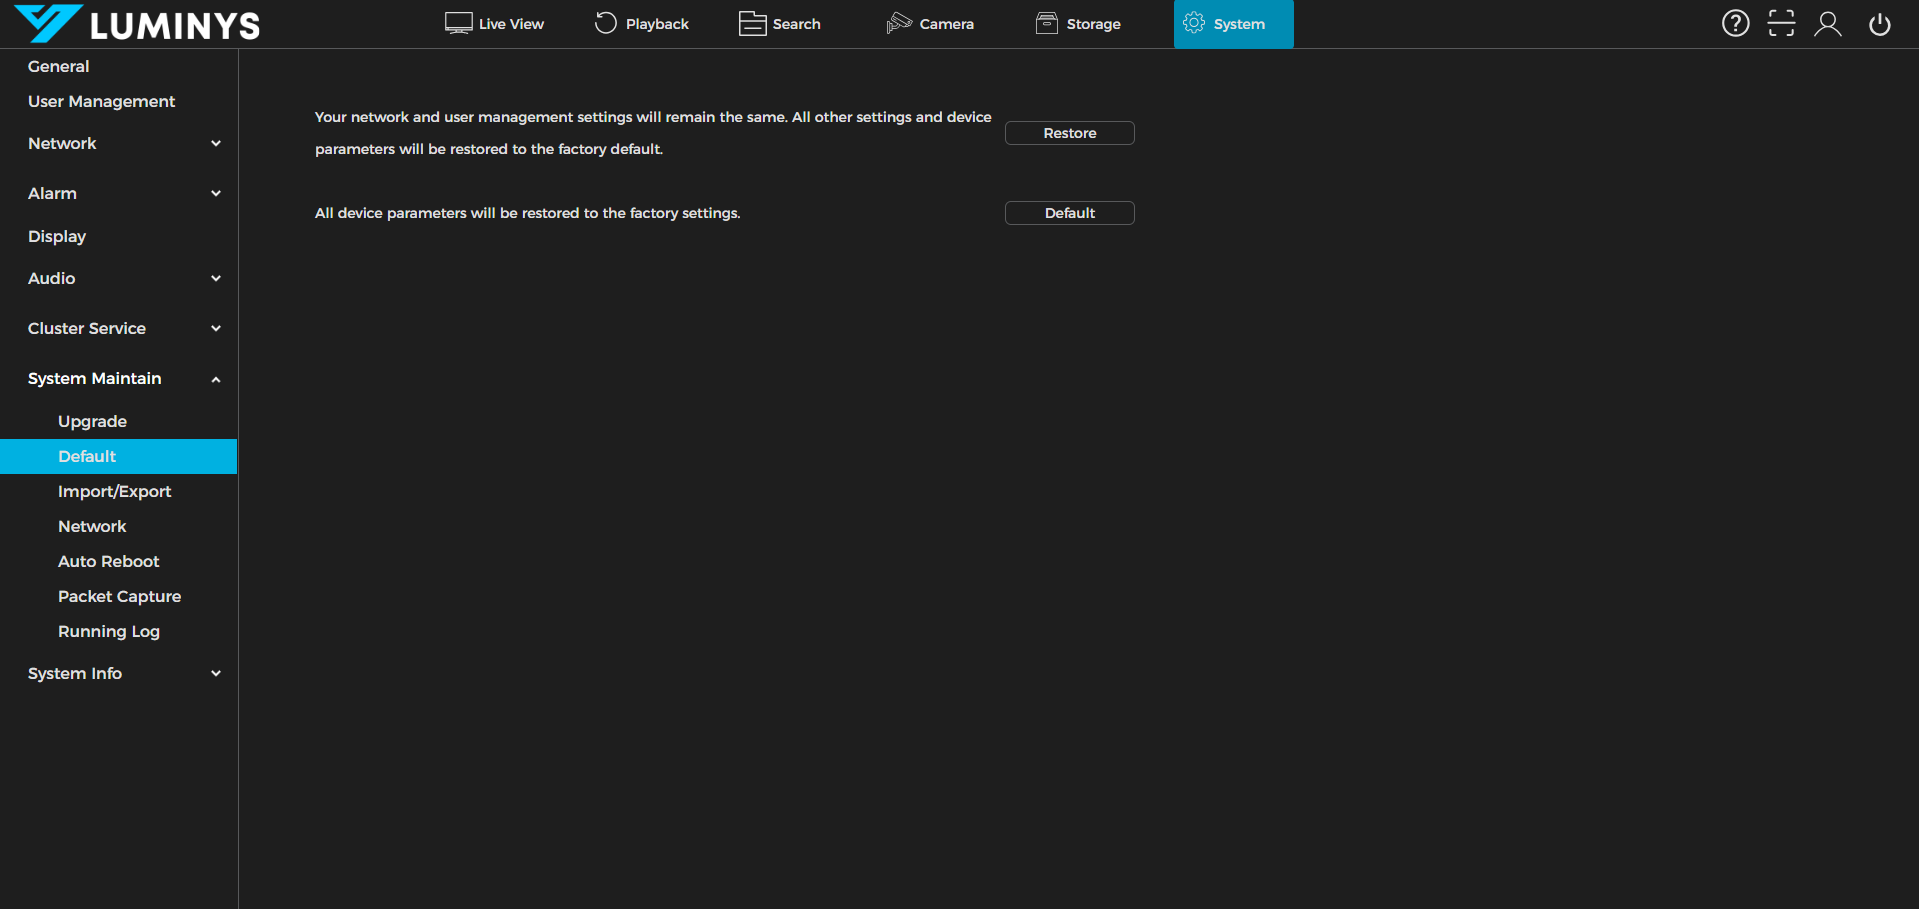
13. In the Default section, the recorder can be restored to its factory settings. If a reset is needed, it’s recommended to use the Default option rather than Restore, as this will return the recorder to its original state without affecting the firmware.
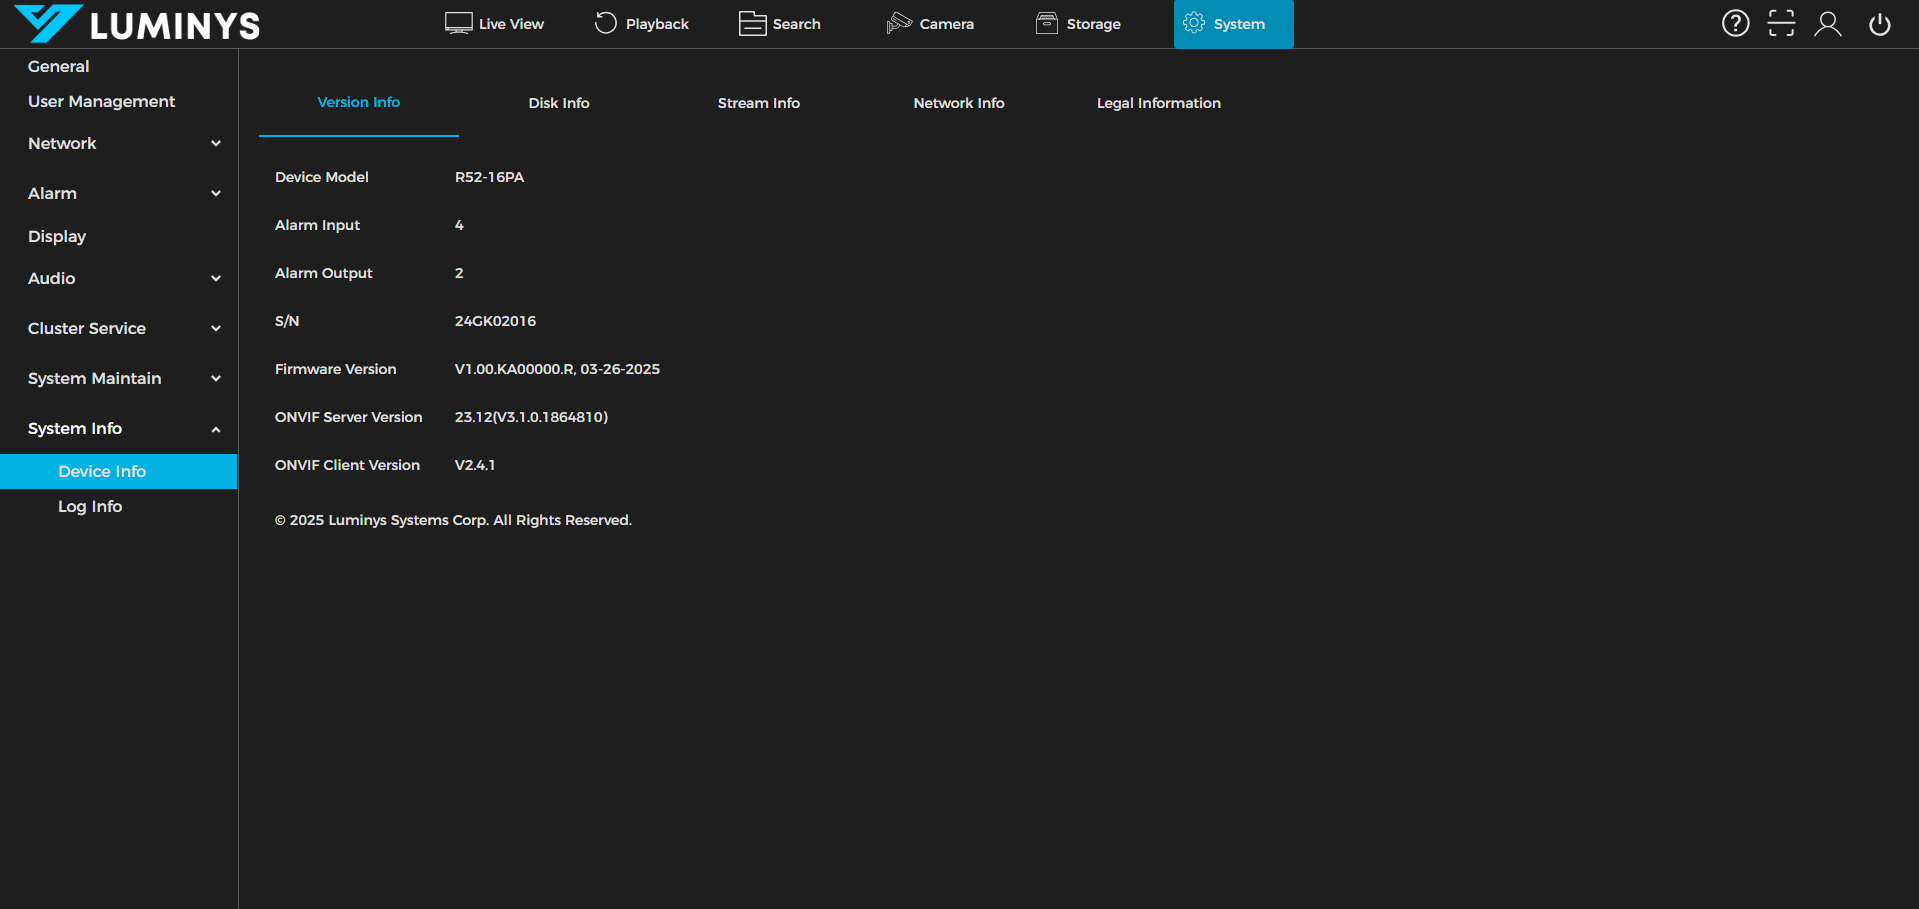
14. In the System Info section, view details such as the device model, serial number, firmware version, and related information.