Network Switches/LumiCloud Setup
Description
This tutorial will go over on how to setup network switches on LumiCloud.
Prerequisites
- Physical switch powered on.
- A computer connected to the same network as the switch and access the website.
Video Instructions
N/A
Step by Step Instructions
1. Connect the power and Ethernet cables. The LED indicator on the right side of the switch will light up to show a proper connection.
To connect the network switch to LumiCloud, ensure that the switch is connected to a network with internet access.
2. Visit Luminyscorp.com to access the LumiCloud login page. If you don't have an account, please contact your local dealer to obtain the login information or reach out to our support team.
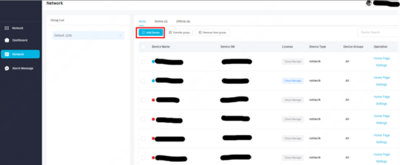
3. After logging in, you will be directed to the LumiCloud dashboard. For network switch devices, select the “Network” category.
4. This page will display all connected online devices. To add a new device, click the “Add Device” icon.
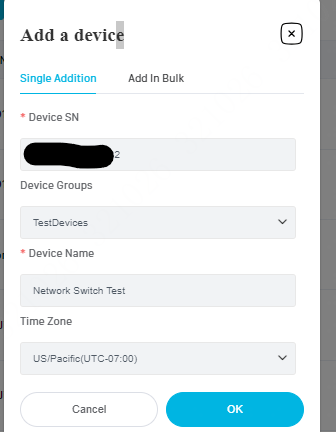
5. Ensure you have obtained a device license before adding it to the cloud; otherwise, the device will remain in an offline status. If you have a valid license, fill in the required information to complete the device addition process.
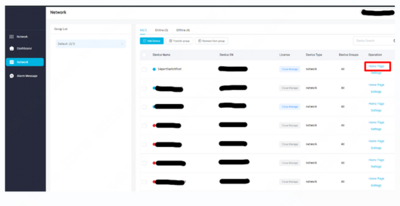
6. To view details for a specific device, select the “Home Page” link next to each online device.
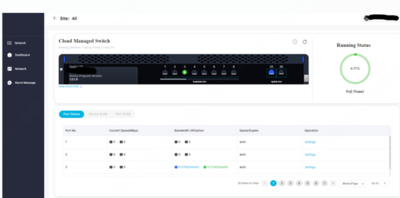
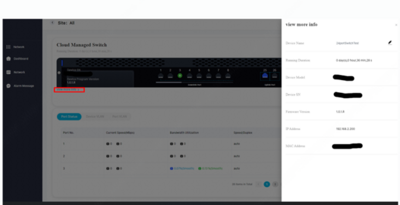
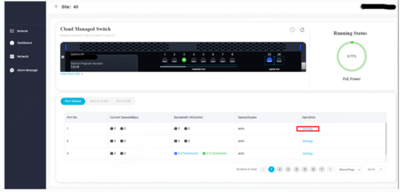
7. This is the home page for a specific network switch, which displays its usage information. Click on “View More Info” to access additional details about the device.
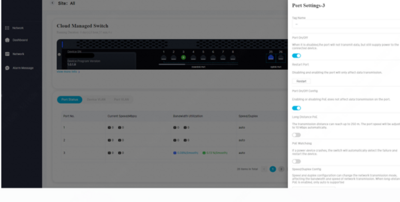
8. To remotely turn a PoE port on or off, select “Settings” next to the port. You will then be able to view and adjust the port settings.


