LumiCenter/How to install LumiCenter Desktop Client
How to install LumiCenter Desktop Client
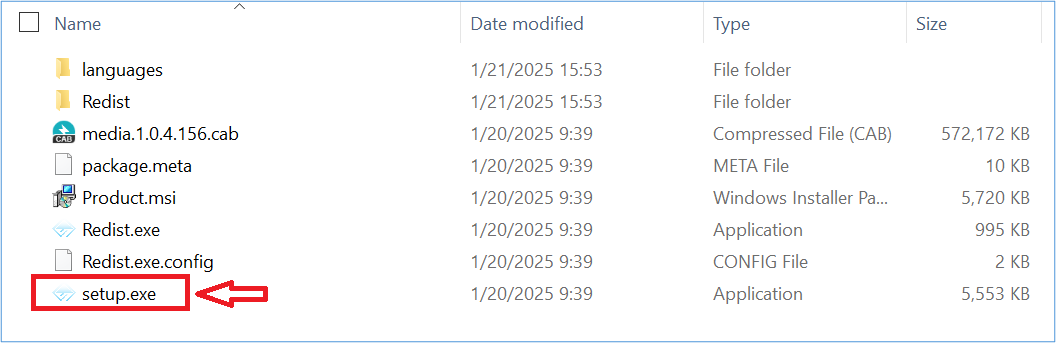
Step 1
Download LumiCenter Installation Package and decompress (unzip) the zip archive
Select and run setup.exe

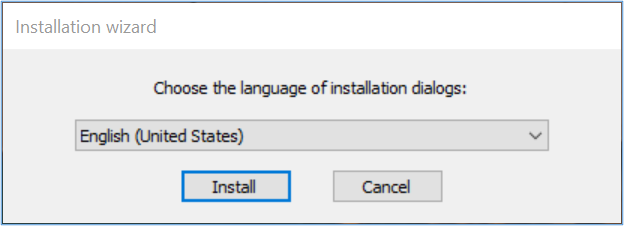
Step 2
Select the language of Installation and click Install
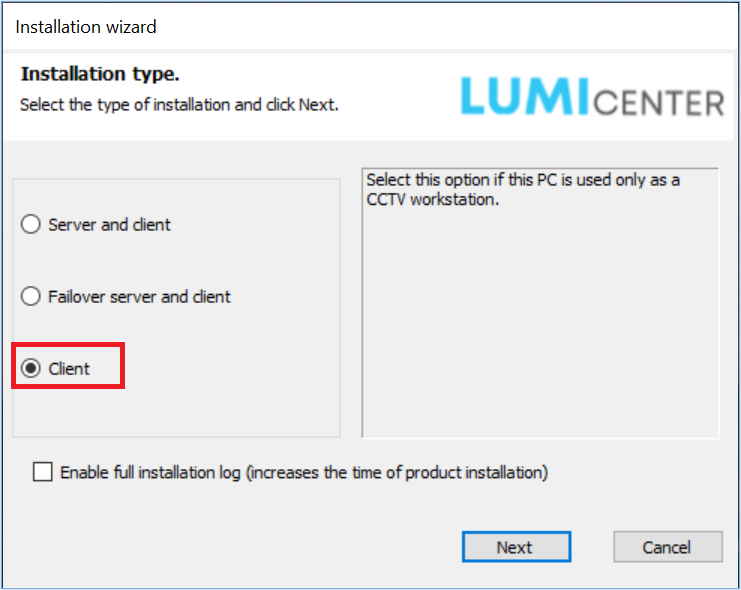
Step 3
Select Client
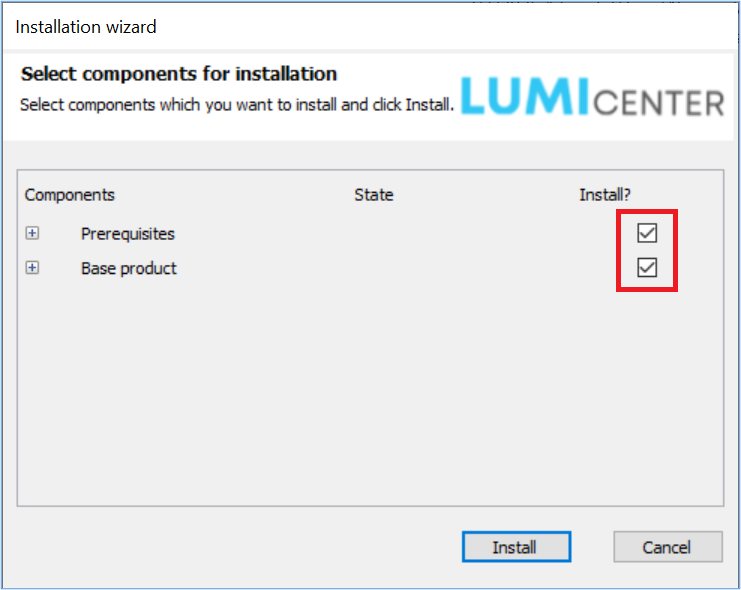
Step 4
Check the boxes of Prerequisites and Base product and click Install
Step 5
There could be a few prompts. Wait

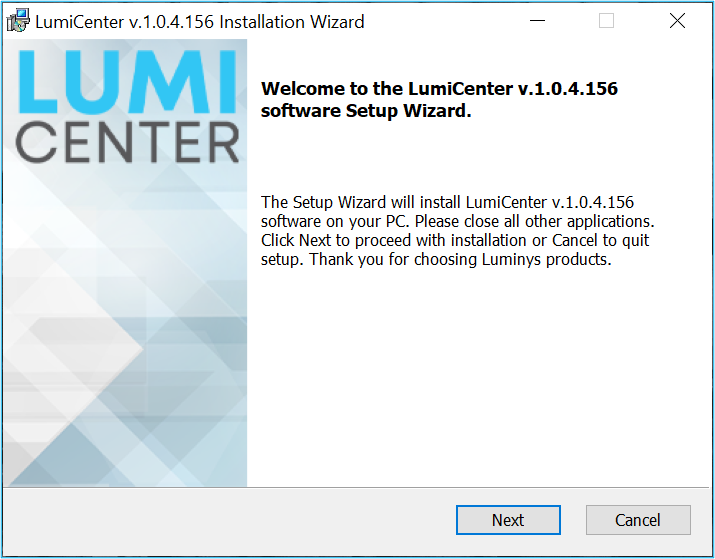
Step 6
A prompt of LumiCenter software setup wizard appears. Click Next
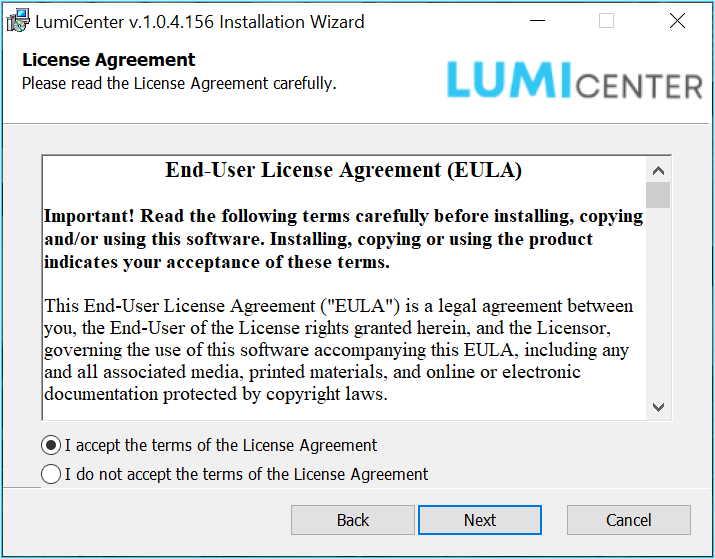
Step 7
Read the EULA, and proceed
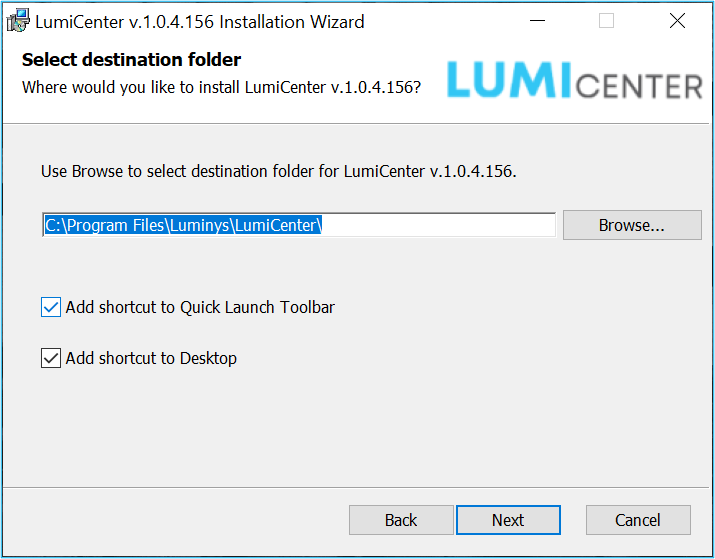
Step 8
Select the destination folder for LumiCenter Client, decide shortcut options and click Next
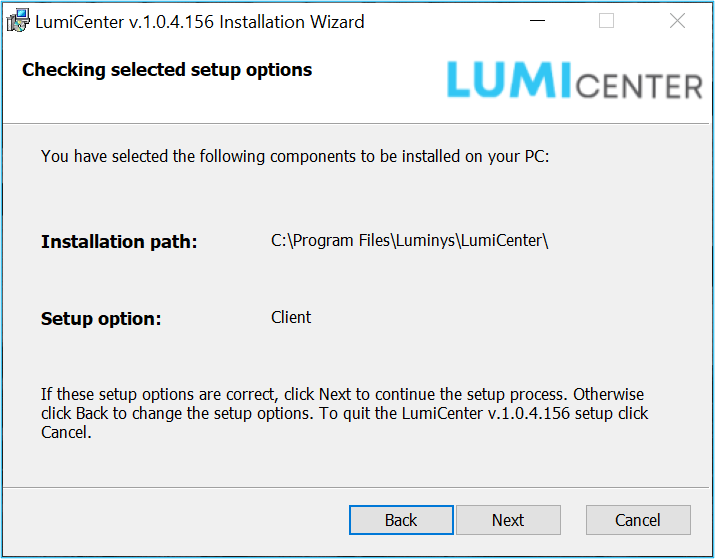
Step 9
Confirm the installation path and click Next
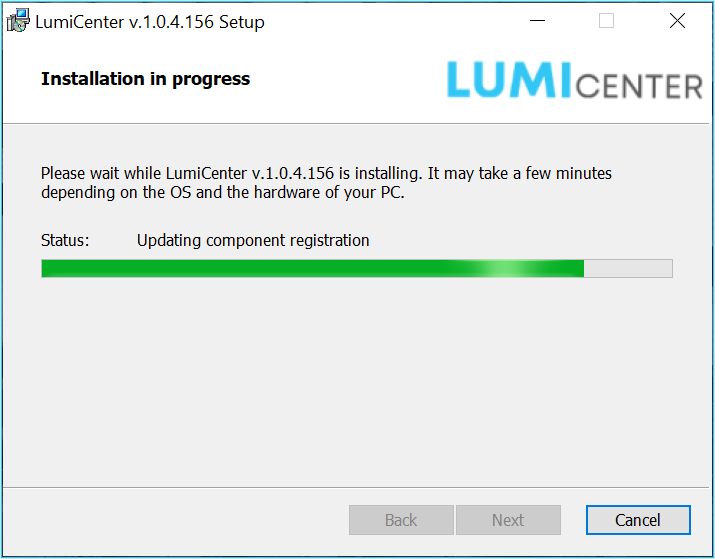
Step 10
Installation in progress. Wait
Step 11
LumiCenter Client is installed. Click Finish

Step 12: Confirm the installation
Click the + button to confirm the installed components

Click Finish to close the installation wizard
LumiCenter Client icon will appear on the Desktop. Double click it to run LumiCenter Client

