LumiCenter/User Interface Configurations
User Interface Configurations
Prerequisites
- LumiCenter server and client installed on a computer.
Video Guide
Steps
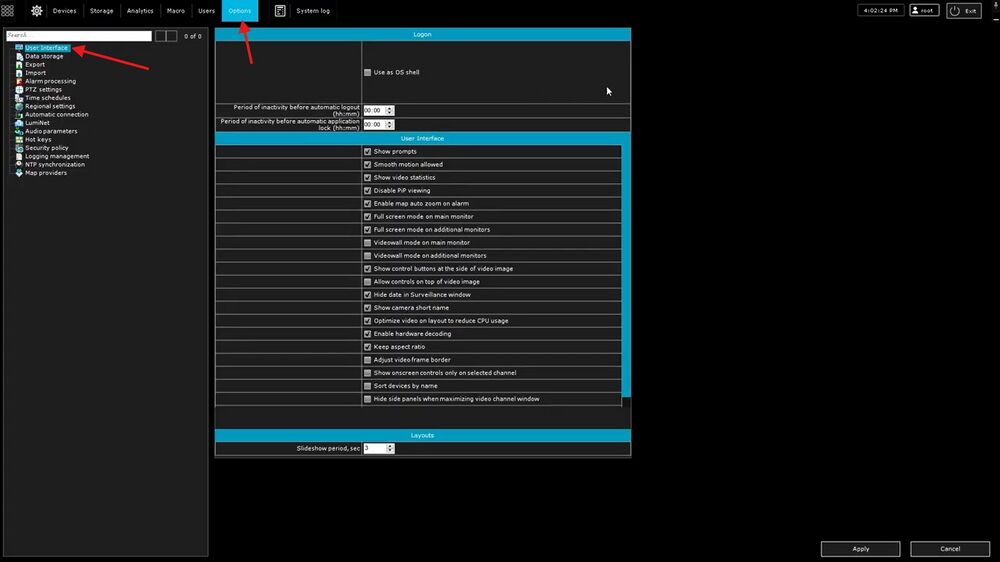
1. To configure the layouts interface, you will first go to the gear icon in the top right, and then select options. Once in options, you will select the user interface option on the left.
2. Now that you are in the user interface section, we will list what each option does.
Use as OS Shell: This means that if you enable this setting, LumiCenter will start before the Windows Explorer when you start your PC. You will not be able to use other programs on the operating system. This is to make sure that the user of the computer can only access LumiCenter. *Note to use this configuration, you need to make sure UAC in Windows is disabled.
Period of Inactivity before automatic logout: If no one has been operating Lumicenter for a period of time, LumiCenter will log itself out.
Period of inactivity before automatic application lock: If no one has been operating Lumicenter for a period of time, LumiCenter will lock itself.
Show Prompts: This will disable the tool prompts. As an example when you hover over the alarm button on the live layout, it will tell you what the button does. If you disable this option, it will no longer give you a prompt for what the button does.
Smooth Motion Allowed: This is to streamline the performance of the display UI.
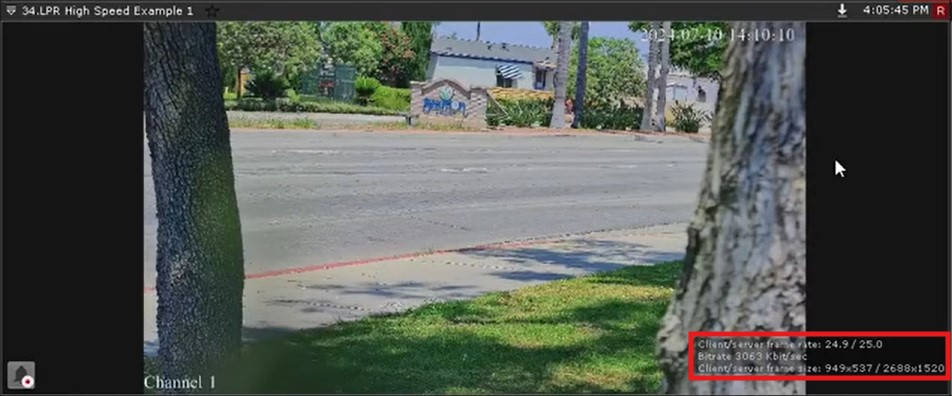
Show video statistics: By enabling this function, it will provide an overlay on the live view of the camera giving information about the stream such as frame rates, bitrate as well as resolution. This is not on by default.
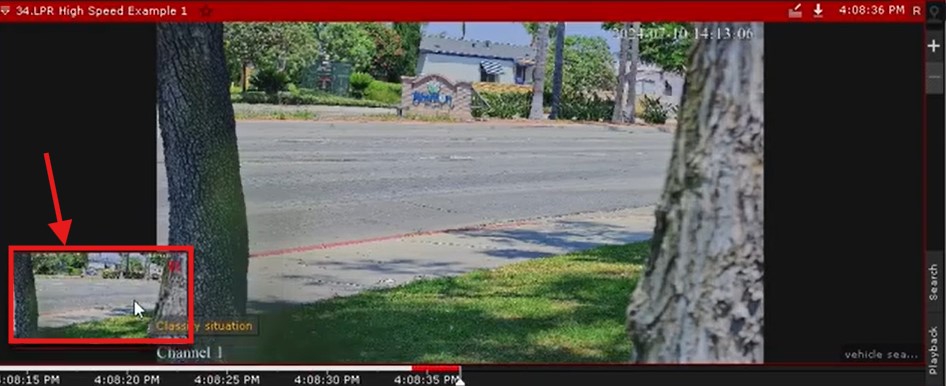
Disable PiP viewing: This function allows you to see a preview of the alarm within the live view window when an alarm occurs. This is not on by default.
Enable Map auto zoom on alarm: If you have this function on, when an alarm occurs it will zoom into the camera located on the map in the live layout. This function is on by default.
Full screen mode on main monitor: By default LumiCenter will run in Windowed mode. If you enable this function, LumiCenter will run in fullscreen mode and will fill the entire screen. This will remove the window resizing buttons. In order for this to take effect, you will need to log out of LumiCenter and log back in. This is off by default.
Full screen mode on additional monitors: The same function as above, however this would also impact your additional monitors.
Videowall mode on main monitor: This function will be discussed in the videowall guide.
Videowall mode on additional monitors: This function will be discussed in the videowall guide.
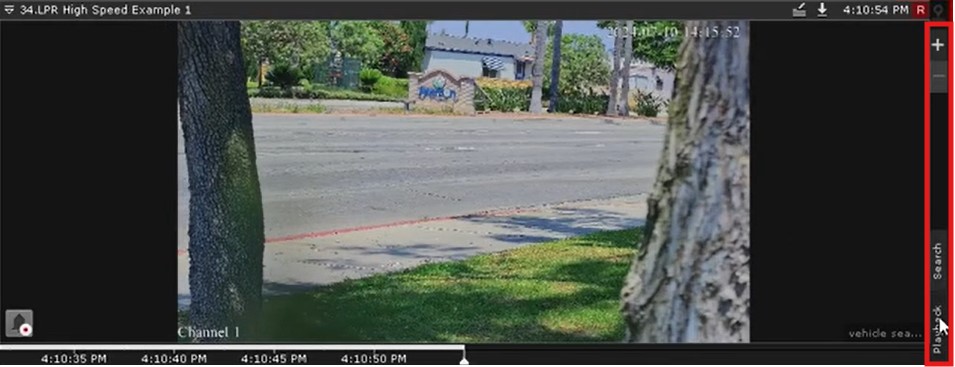
Show control buttons at the side of the video image: When this function is enabled, you will see buttons to the right of the live view. If you uncheck this option, then it will hide the buttons. It is strongly recommended to keep this option on.
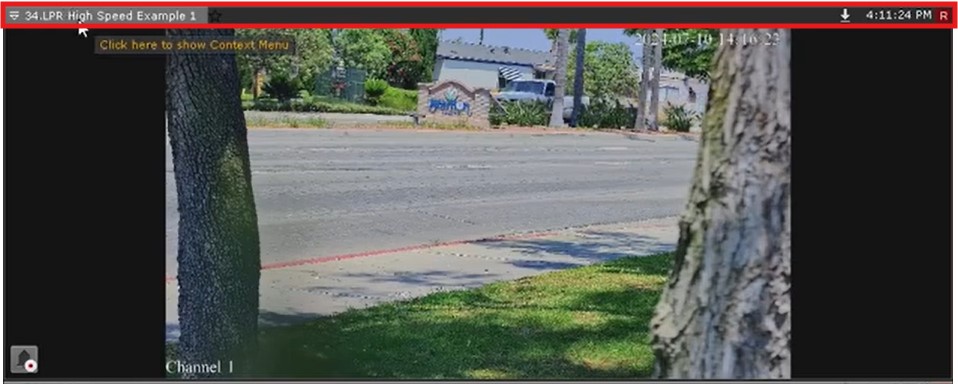
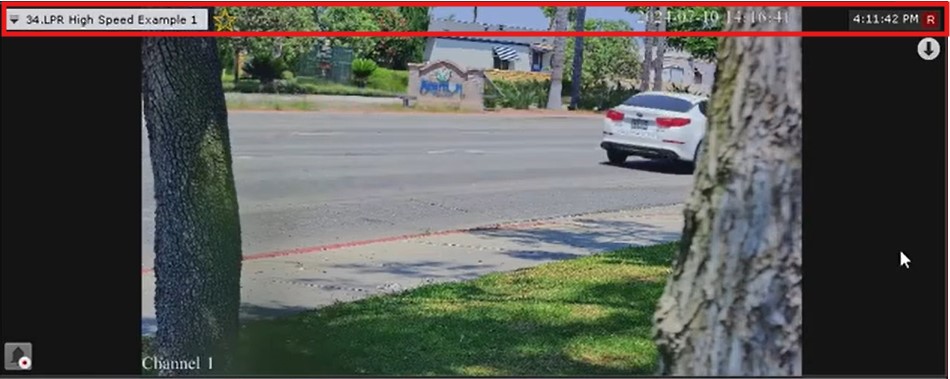
Allow controls on top of video image: By default if this option is disabled, the controls will exist within the frame of the live view. If you enable the function, it will place those controls within the live view window instead. There is also a sub function tied to this as well. (Show on screen controls only on selected channel.)
Off:
On:
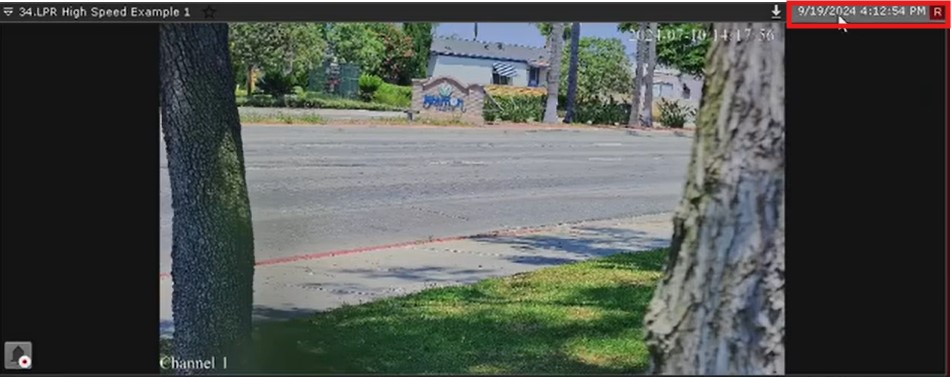
Hide date in surveillance window: By default the date is hidden within the live view window. If you disable this option, you will then be able to see the date in the live view window.
Show camera short name: By default this is enabled. The format when this is enabled would be the Short Name(point)Name. If you uncheck this function it will hide the short name and will only display the name.
Optimize video on layout to reduce CPU usage: This is enabled by default and there is no reason to disable it.
Enable Hardware decoding: If you want the hardware to take the job of decoding so you can maximize the efficiency of your computer, enable it.
Keep aspect ratio: Having this enabled will keep the video display of the camera in its original aspect ratio. If you disable this option, it will then allow you to stretch the image, however this could make the image look distorted.
Adjust video frame border: By default the size of the video surveillance window on the layout is proportional to resolution of the video image. If you enable this option for the surveillance window to be a fixed size and occupy the entire area of the layout. It is strongly suggested to leave this on.
Show on screen controls only on selected channel: This option can only be toggled if the (Allow controls on top of video image) is enabled. This option will make it so the controls only appear on the live view window that you currently have selected.
Sort devices by name: By default the devices are sorted by the device short name. If you enable this option, it will then sort the devices alphabetically by their name instead of the short name.
Hide side panels when maximizing video channel window: As an example the playback section on the right is a side panel. If this option is not turned on, when you maximize your live view window, the side panel will still be there, but if you turn this on, when maximizing a video, it will hide the playback section.
Layouts – Sideshow period, sec (3): When you start a slideshow in the layouts window, it will cycle through the different layouts every 3 seconds by default. You can modify this to be a longer or shorter time if you wish.


