NVR/NVR Initialization and Setup Wizard: Difference between revisions
Techsupport (talk | contribs) No edit summary |
Techsupport (talk | contribs) No edit summary Tag: Manual revert |
||
| (3 intermediate revisions by the same user not shown) | |||
| Line 10: | Line 10: | ||
===Video Instructions=== | ===Video Instructions=== | ||
< | <youtube>https://www.youtube.com/watch?v=eBx9P9Ei74A</youtube> | ||
===Step by Step Instructions=== | ===Step by Step Instructions=== | ||
Latest revision as of 09:29, 28 April 2025
NVR Initialization and Setup Wizard
Description
This tutorial will go over how to initialize and configure NVR via local monitor.
Prerequisites
- NVR powered on and connected to the local network.
Video Instructions
Step by Step Instructions
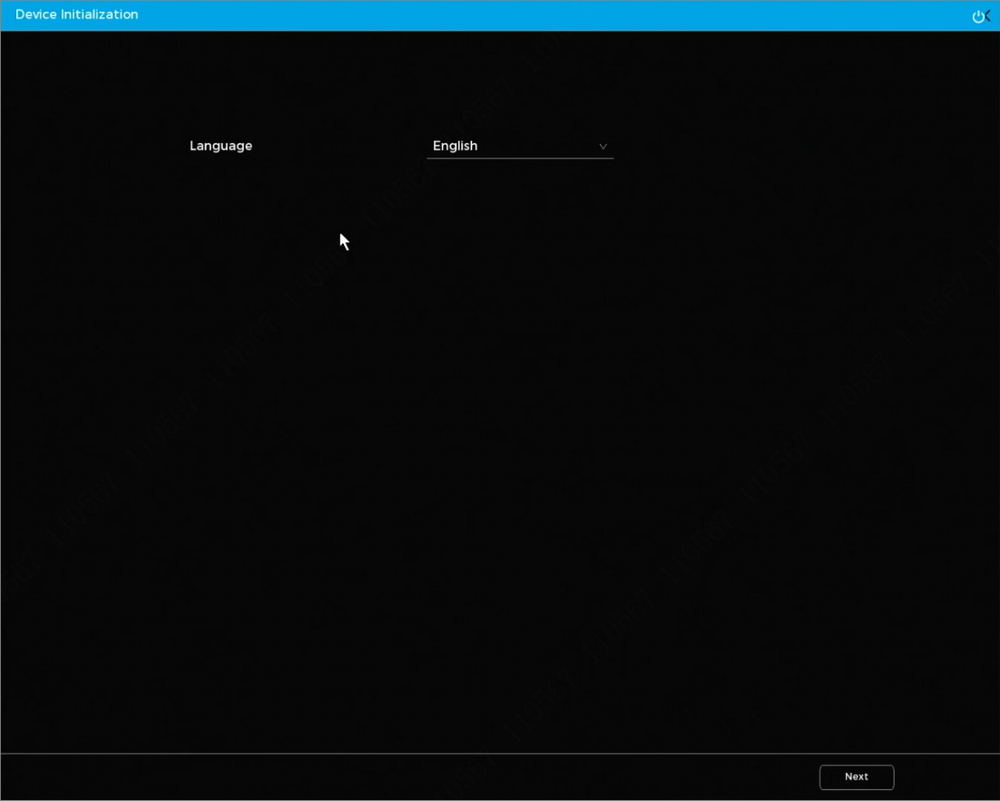
1. Connect the VGA/HDMI to the recorder, and a "Device Initialization" prompt will appear on the screen.
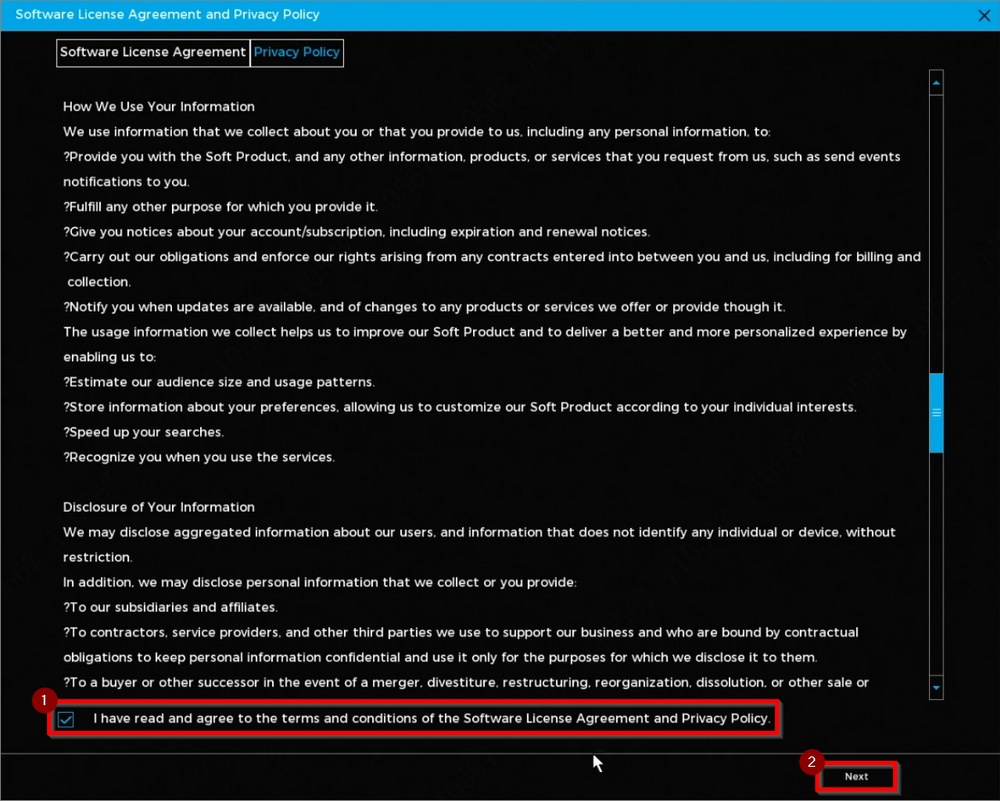
2. Review the “Software License Agreement” and “Privacy Policy,” then check the box for “I have read and agree…” at the end. This will enable the “Next” button to proceed.
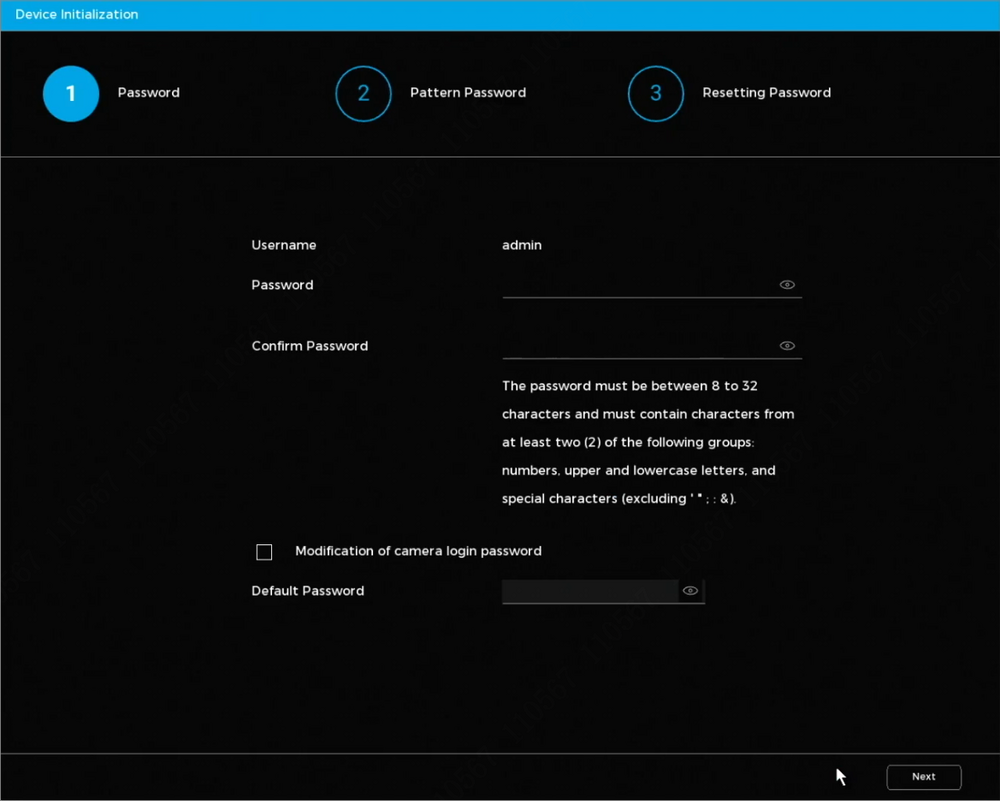
3. Enter the new admin password twice to set it for the admin account. The option "Modification of camera login password" can be used if there are cameras that have already been initialized with a different password than the recorder, allowing you to synchronize the camera password with the recorder for easier management.
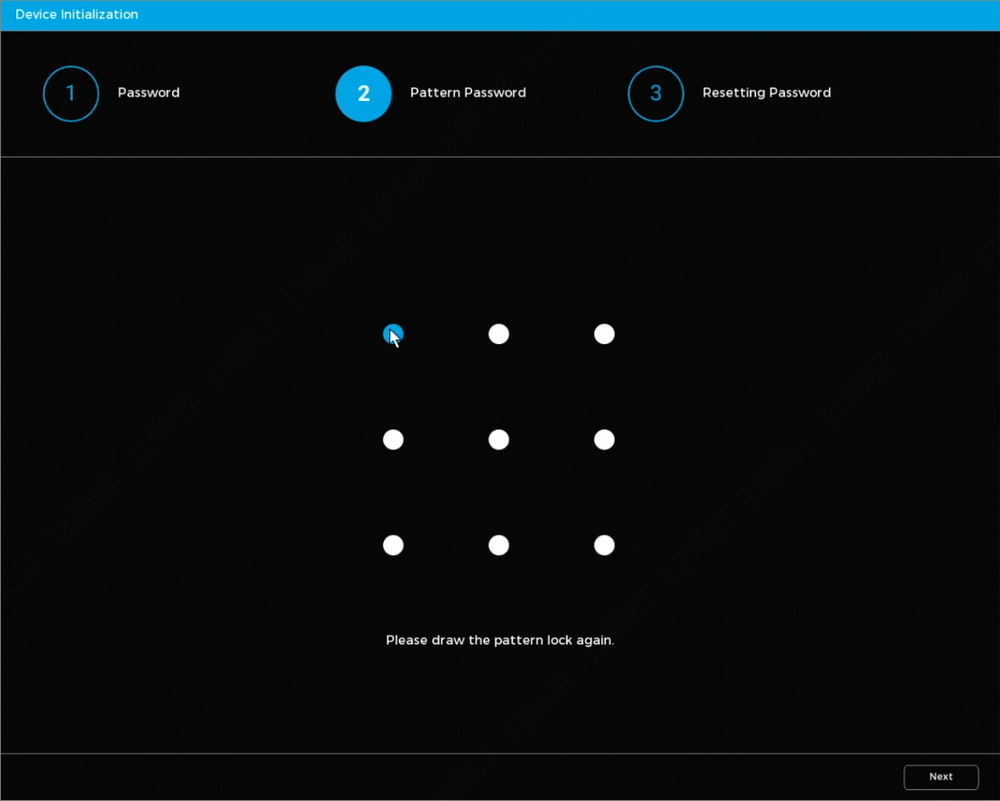
4. Next, create a pattern for easier login by drawing it on the screen. Draw the same pattern twice to confirm and proceed to the next screen.
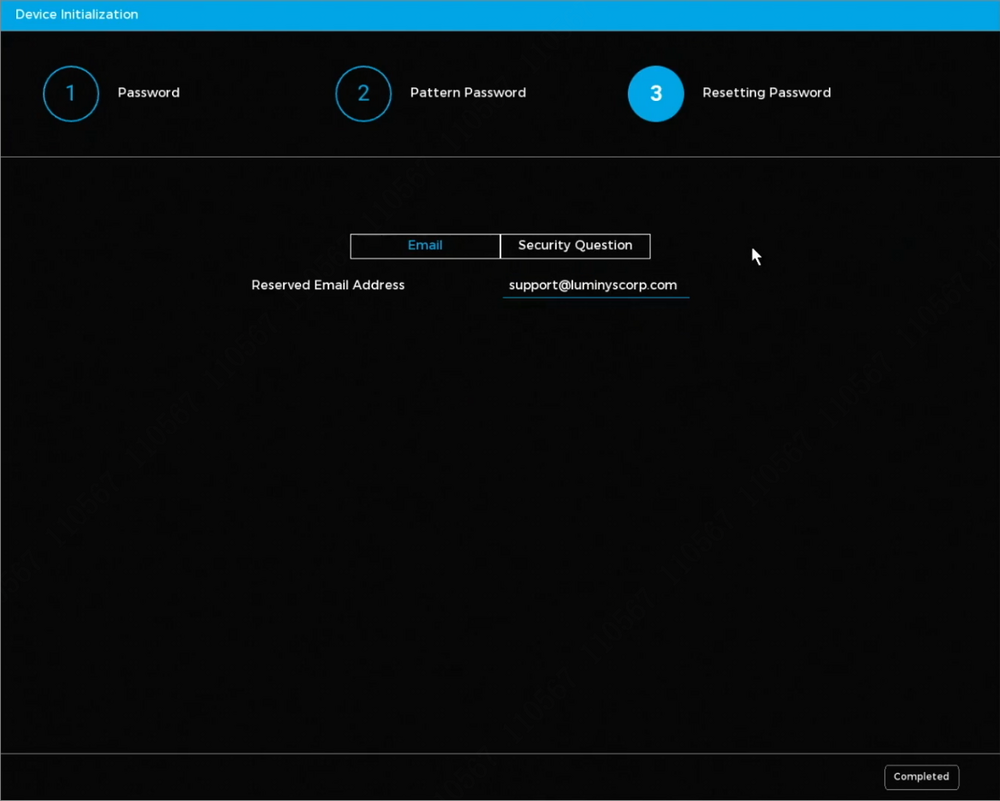
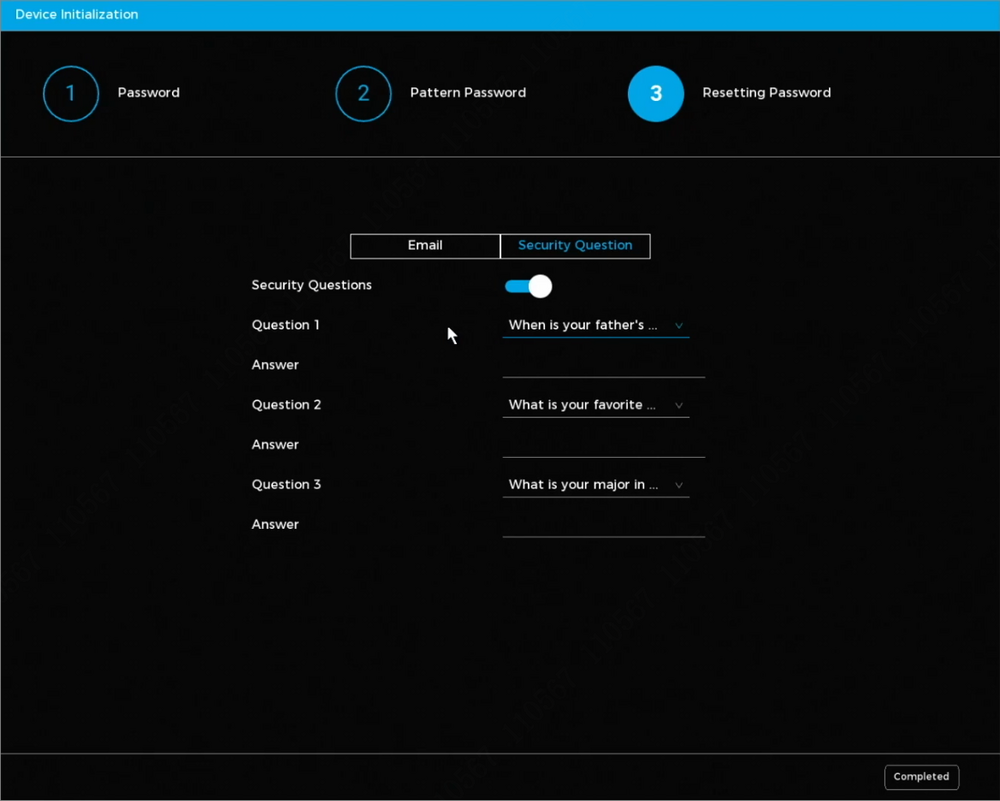
5. It's recommended to enter at least an email address for password reset purposes. Security questions can also be set up alongside the email to provide an additional password reset option if needed.
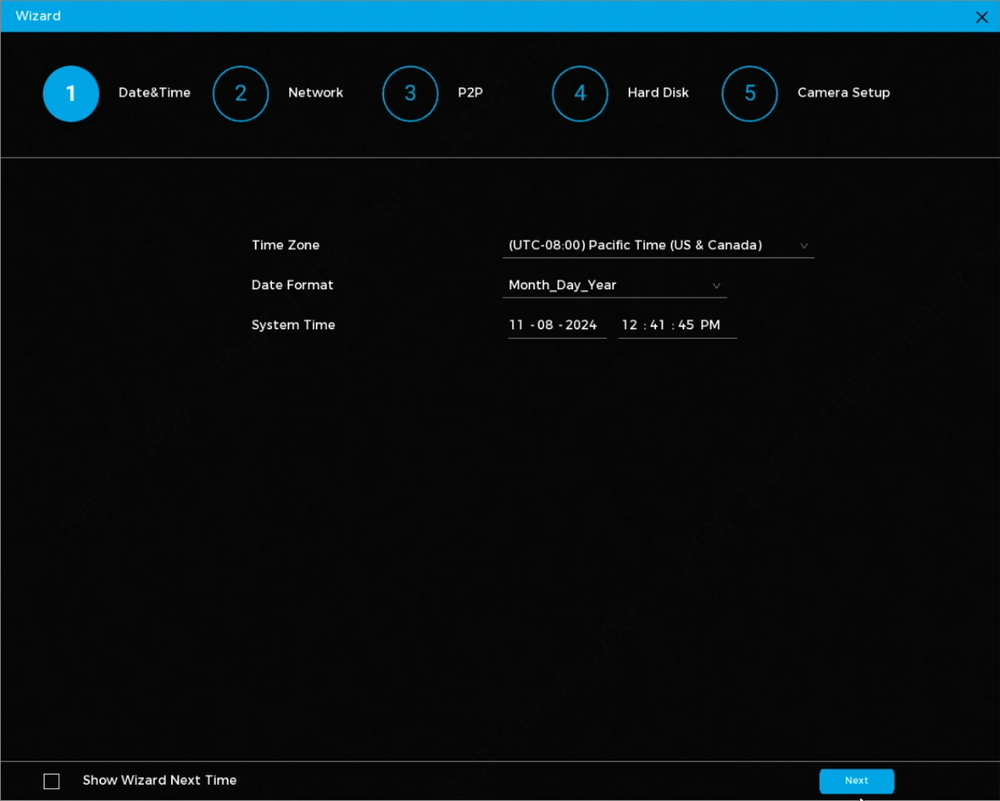
6. Select the appropriate Time Zone, Date Format, and System Time for the recorder.
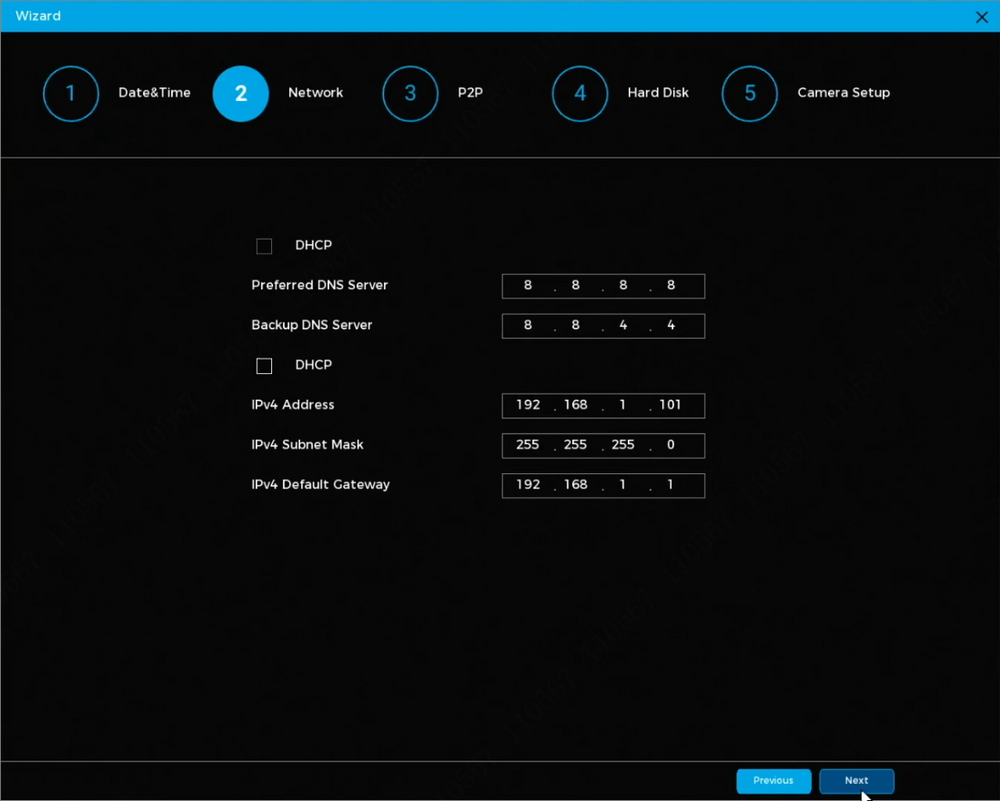
7. For simplified configuration, leaving both settings on "DHCP" is recommended, as this option automatically retrieves all necessary network information from the router. Alternatively, manual settings allow assignment of an IP address and other network details manually.
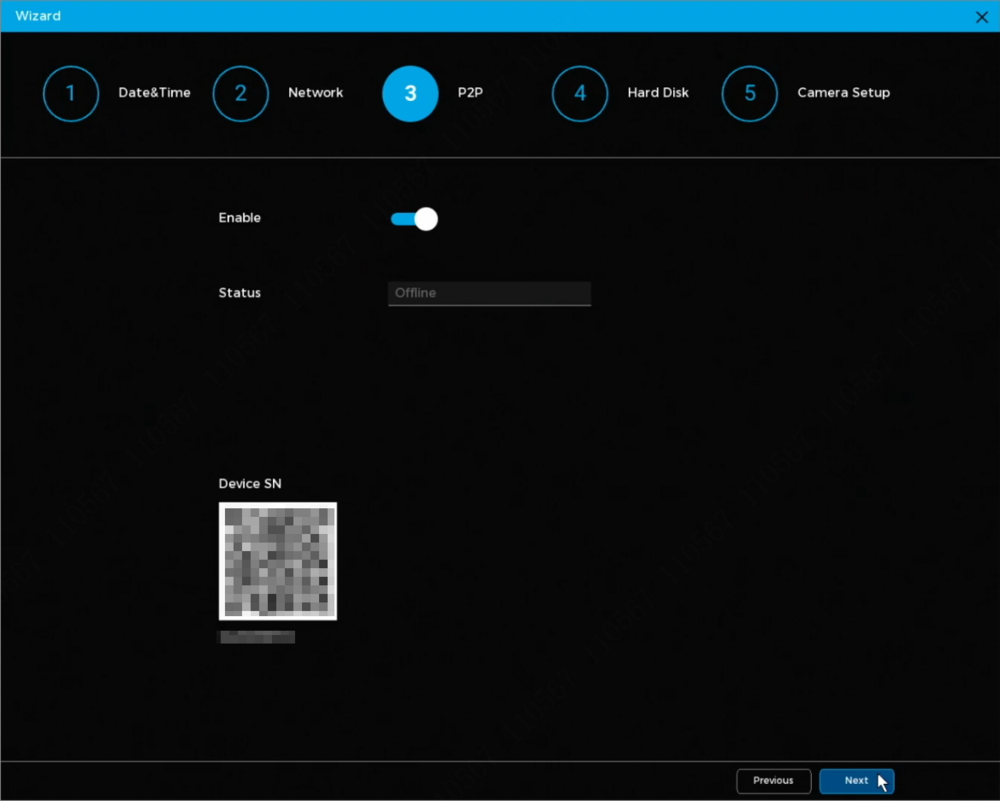
8. Enable "P2P" to allow remote connection.
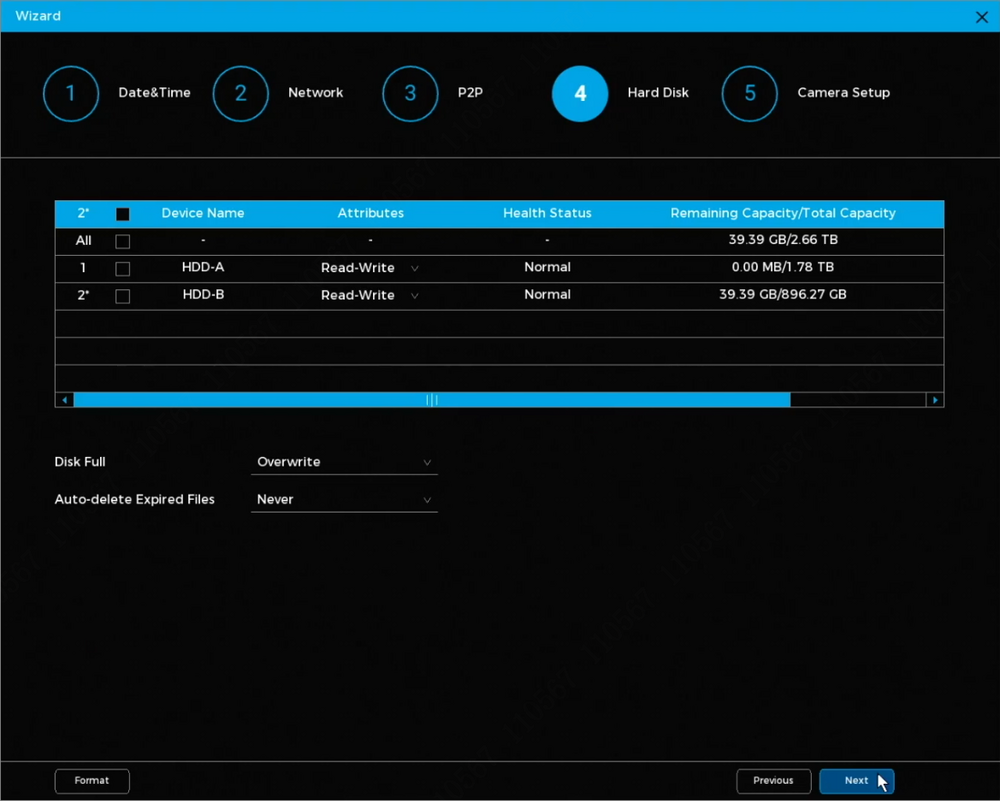
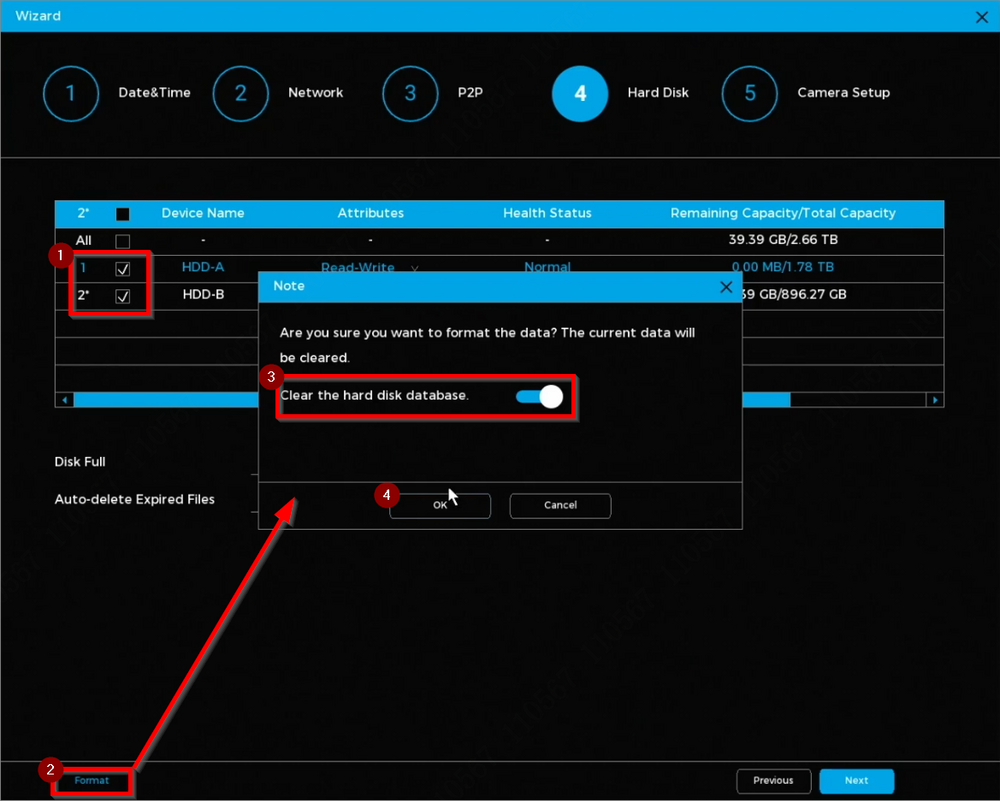
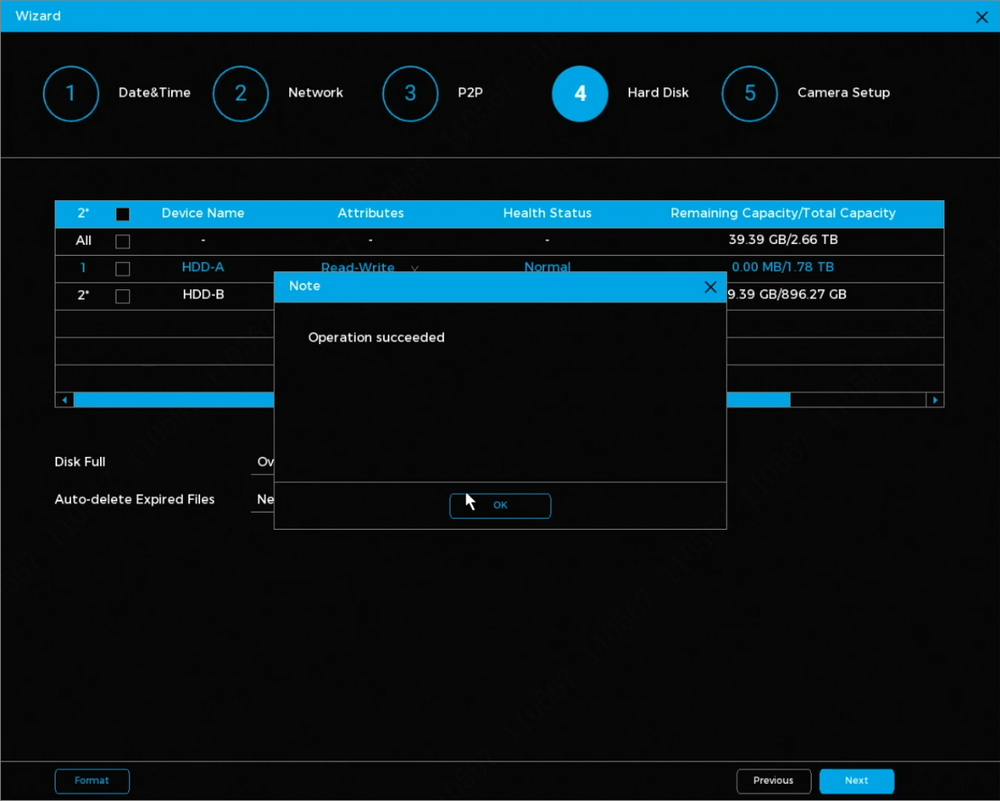
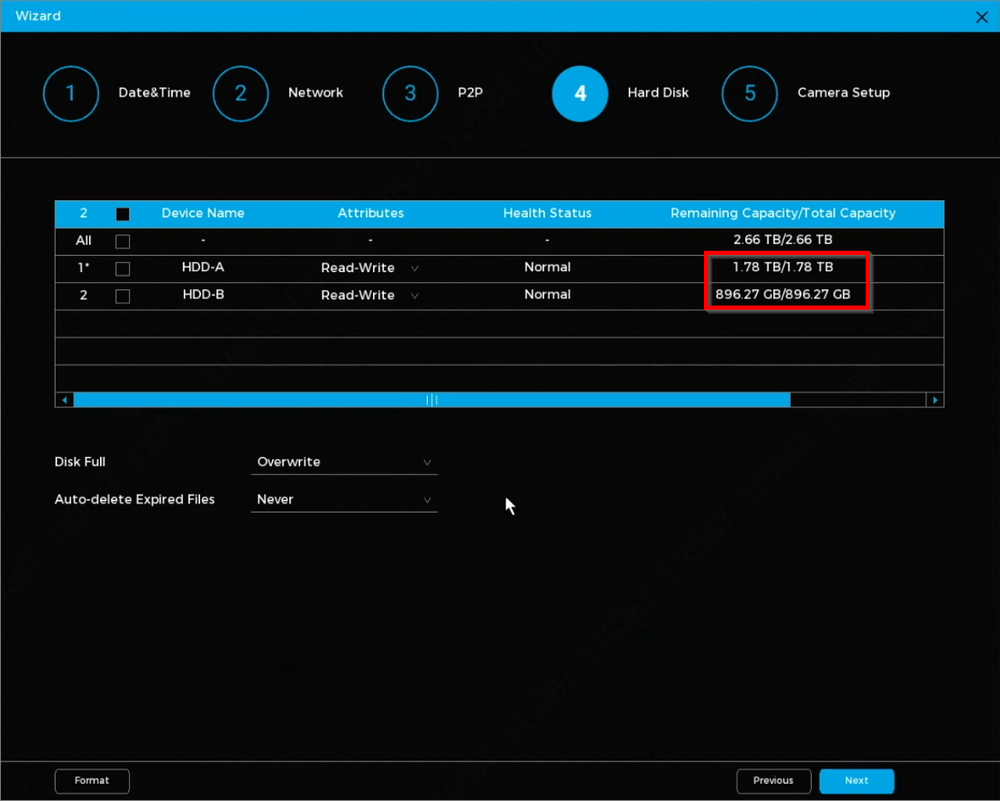
9. On this screen, the recorder displays the hard drives; formatting the hard drives before use is recommended.
When formatting the hard drives, a pop-up will prompt whether to “Clear the hard disk database.” This option is crucial if the hard drives were previously used in a different recorder. The database may contain metadata, such as license plates, face recognition data and more. Enabling this option will also remove the metadata along with recording data with the hard drives.
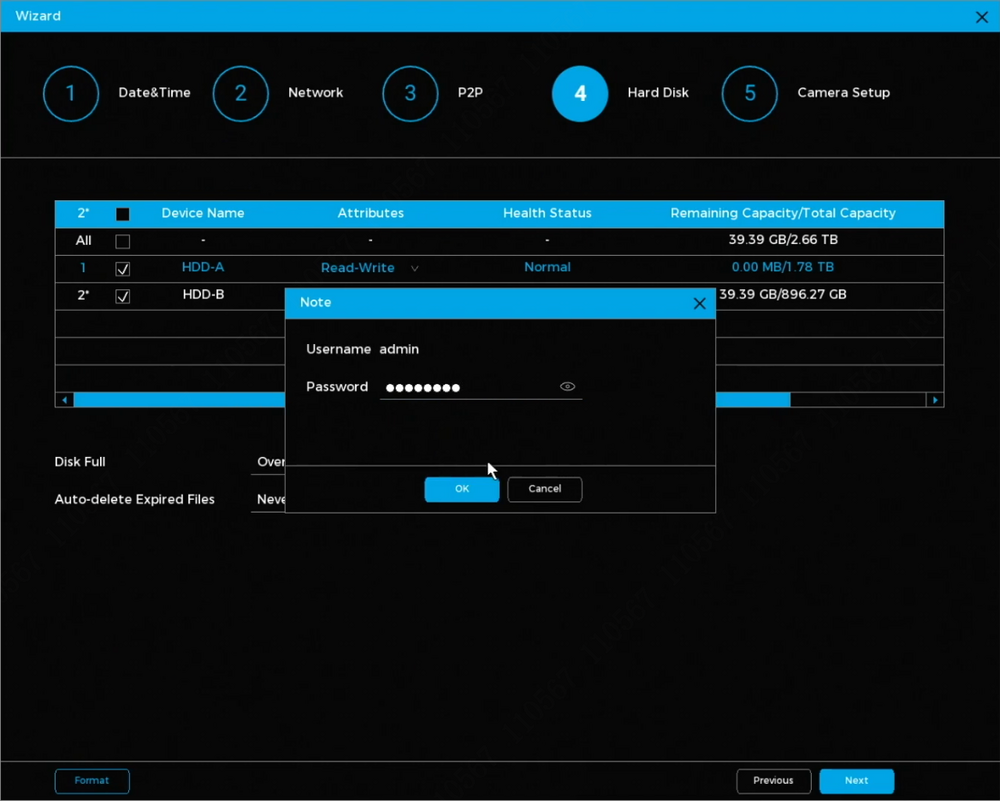
Enter the admin password when prompted to proceed with the formatting process.
A success message prompt will appear once the formatting process is complete.
The remaining capacity will display the same size as the total capacity since no storage has been used yet.
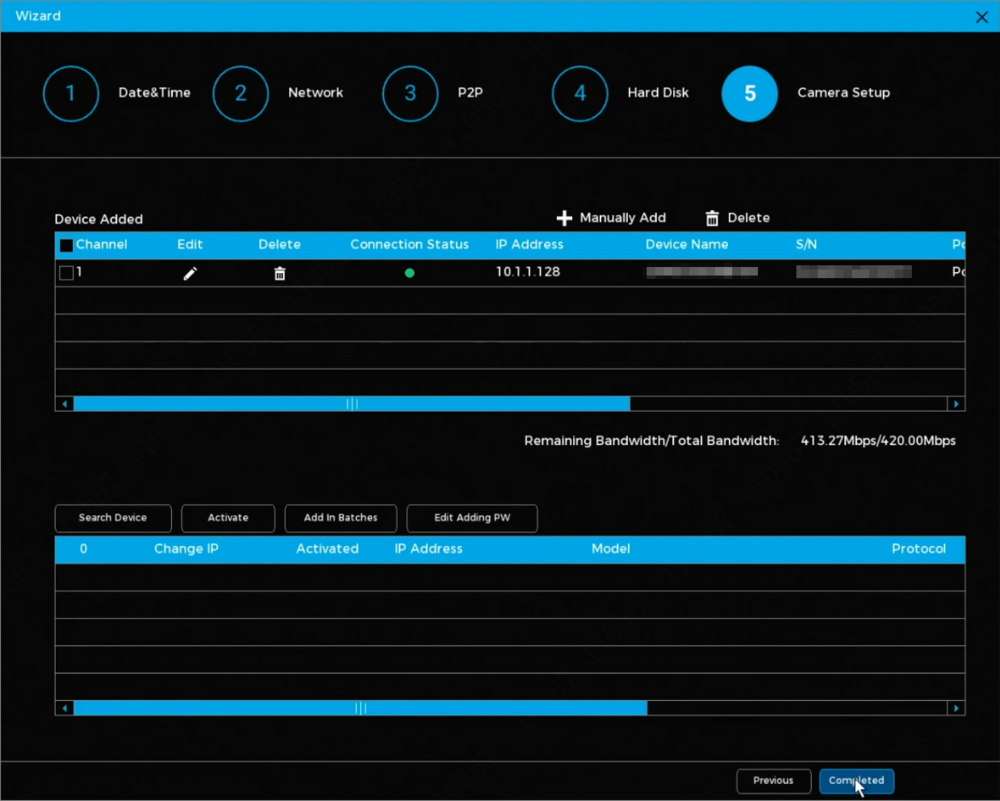
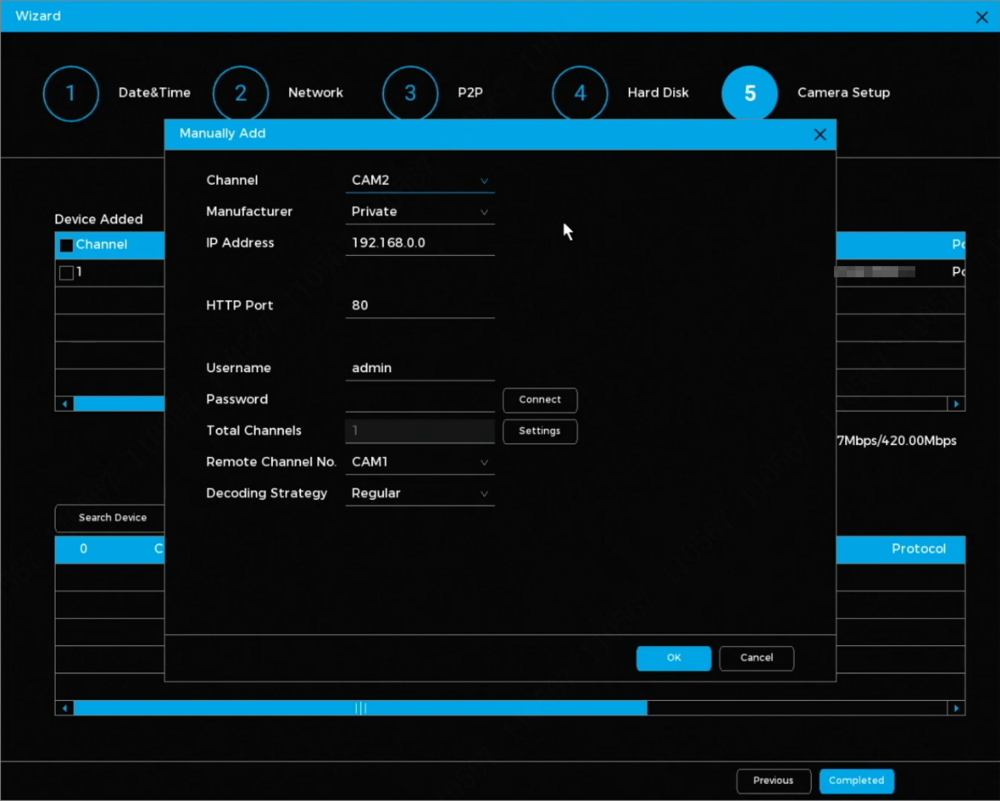
10. Under Camera Setup, cameras can be added to the bottom list. The top list displays cameras that have already been added to the recorder. In this example, the camera has been automatically added due to its connection to the back of the recorder.
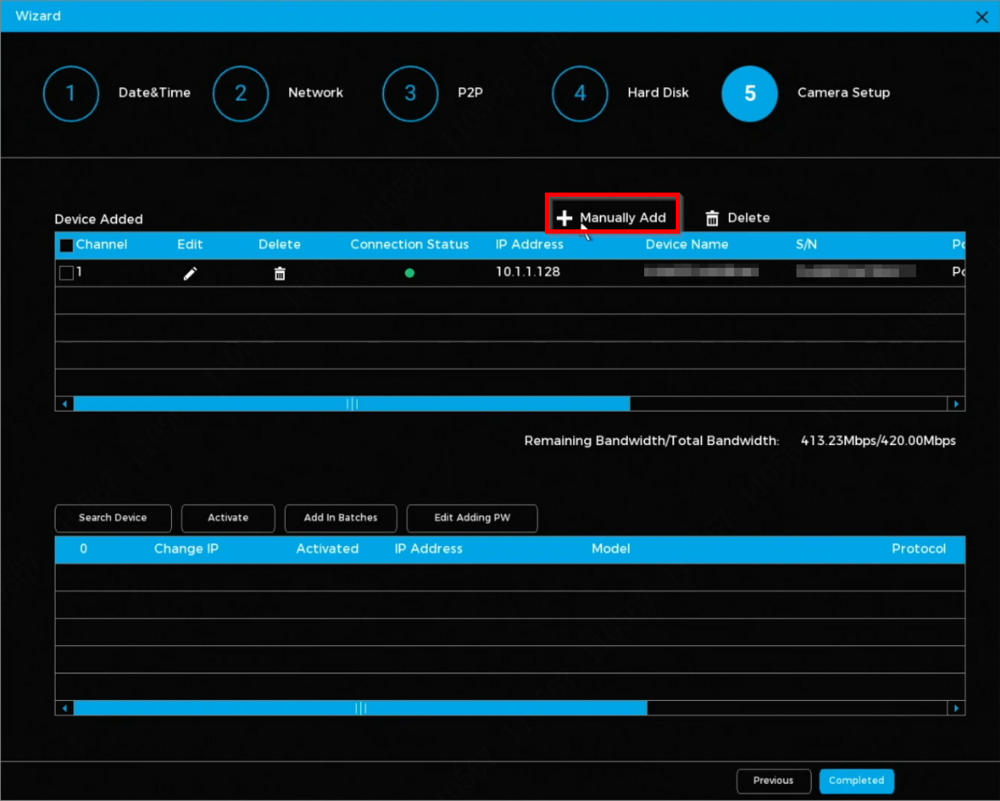
11. To add cameras manually, click the “Manually Add” button located at the top right of the "Device Added" list (top list).
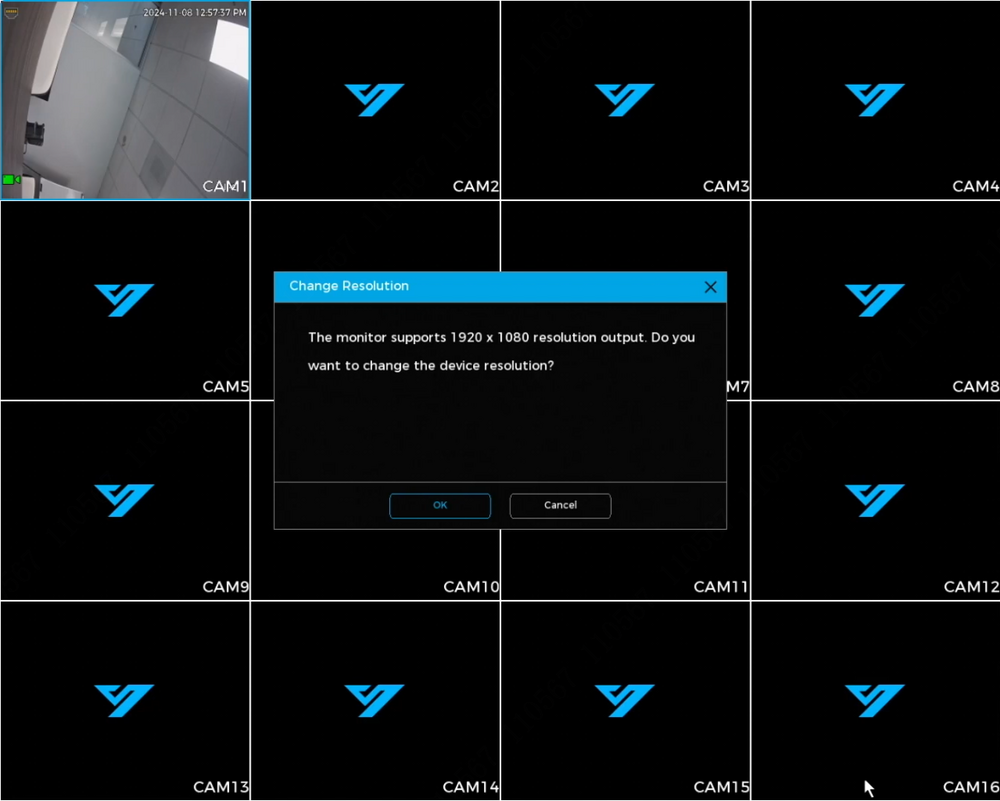
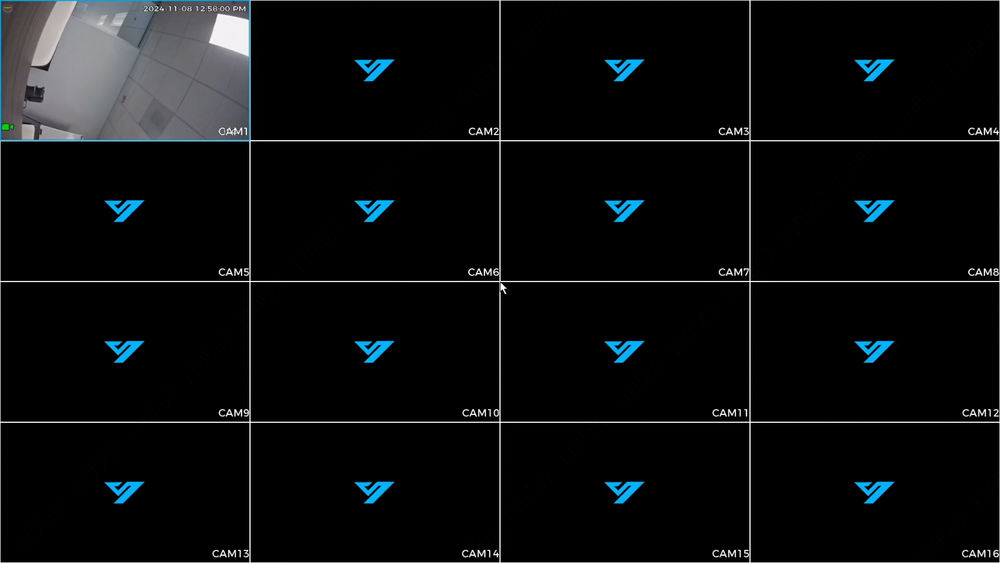
12. Once finished, click the "Completed" button to end the configuration. On the following screen, the live view of the cameras will appear, and a pop-up prompt will ask if switching to a higher resolution of 1080P is desired, as the monitor supports this resolution. Clicking "Ok" will confirm the change, and the live view screen will scale accordingly.

